
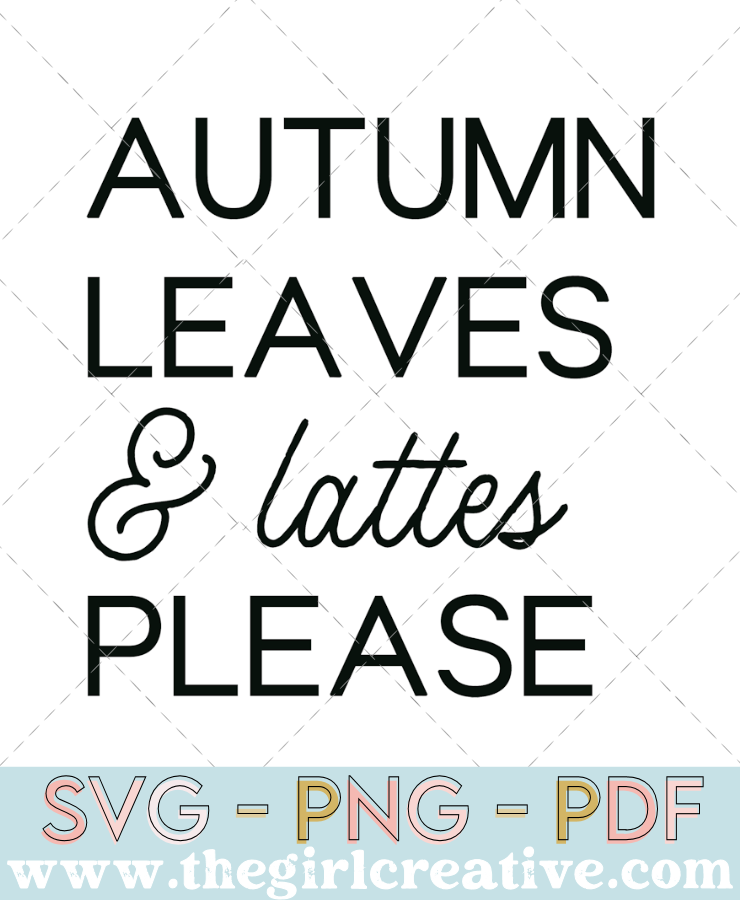
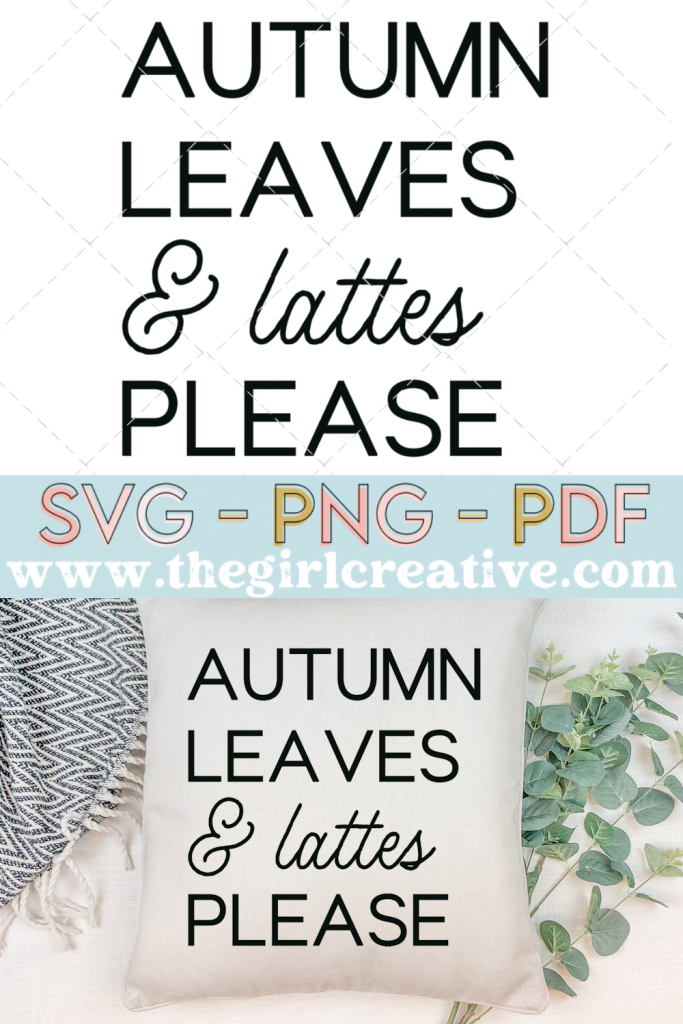
Autumn Leaves and Lattes Please SVG
Use our “Autumn Leaves and Lattes Please SVG” cut file to make fall pillows, signs, mugs and more with your Cricut, Silhouette Cameo or Portrait. Not a fan of lattes? No worries. We have you covered!
Who’s ready to start decorating for Fall? Even if you don’t go all out with seasonal decorating, adding an element or 2 can give your home just the pop of fall it needs.
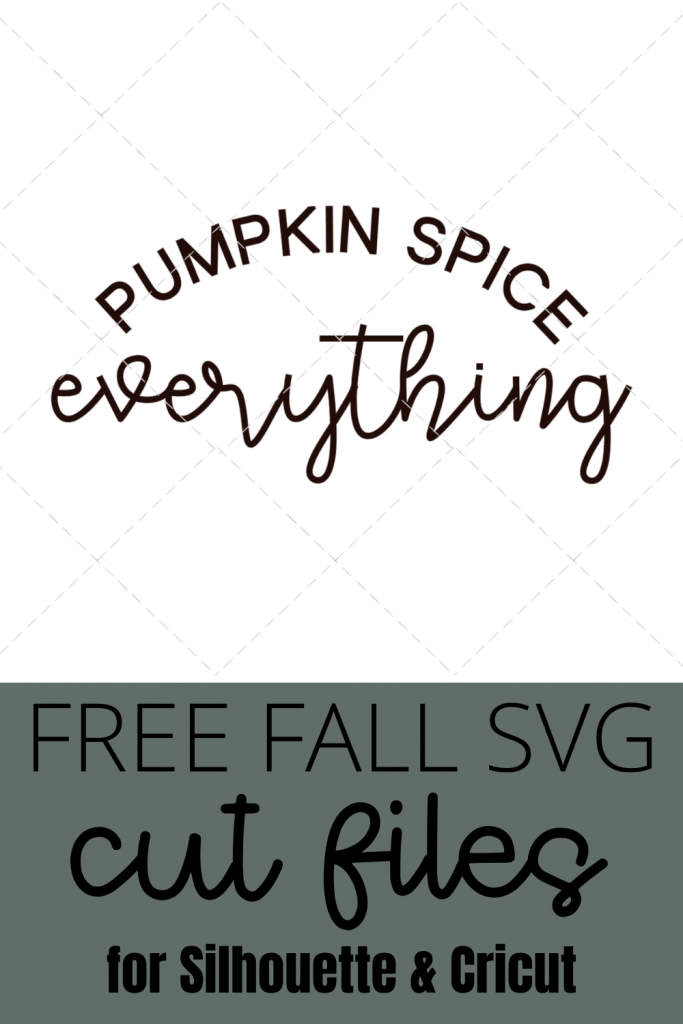
FALL SVGS
Since Fall is my favorite time of year I’m really trying to bulk up my fall SVG library. I want you to be able to find designs for all of your fall crafts. Whether it’s paper crafting, signs, shirts or mugs, I want you to have options. If you’re looking to add more SVGs for your collection, I’ve rounded up my favorite sites for downloading free svgs. You can see them HERE.
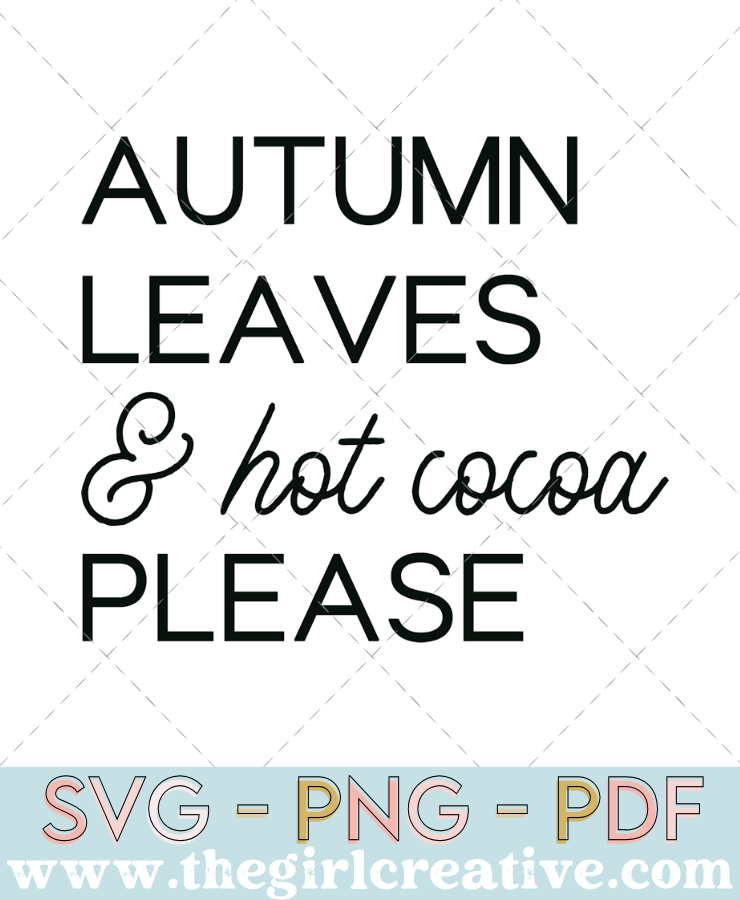
I’m not a fan of coffee or lattes and I know I can’t be the only one so I created an alternative Free Autumn SVG: Autumn Leaves & Hot Cocoa Please
This FREE SVG is for Personal Use Only. Sharing, selling or redistributing this design in digital or printed format is strictly prohibited.
The best craft fonts for cutting machines
There are many fonts that would fall into the category of the best craft fonts for cutting machines and thankfully there is no shortage of fonts to be found on the web. My favorite sites for downloading fonts when I’m working on a new designs are Creative Fabrica and Fontbundles.net. For this Autumn Leaves and Lattes Please SVG I used the following font combination: Clements and Headley Script.
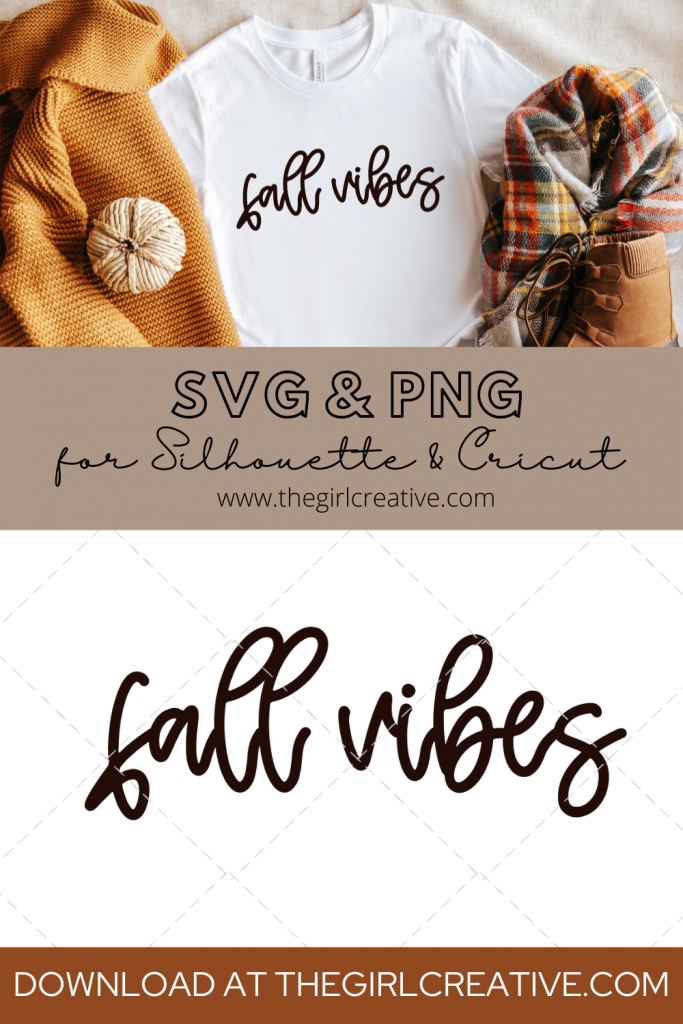
FALL SAYINGS SVGS
If this is your first time visiting The Girl Creative and you love these fall sayings SVGs, then you’ll probably like these cut files for Silhouette and Cricut too.
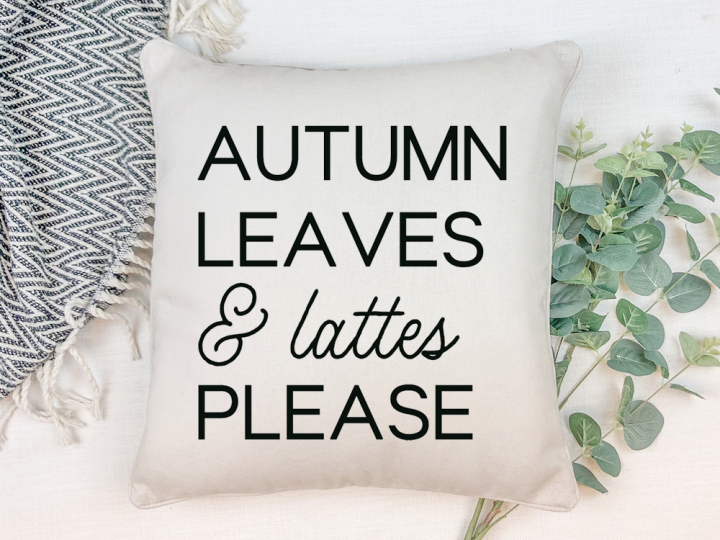
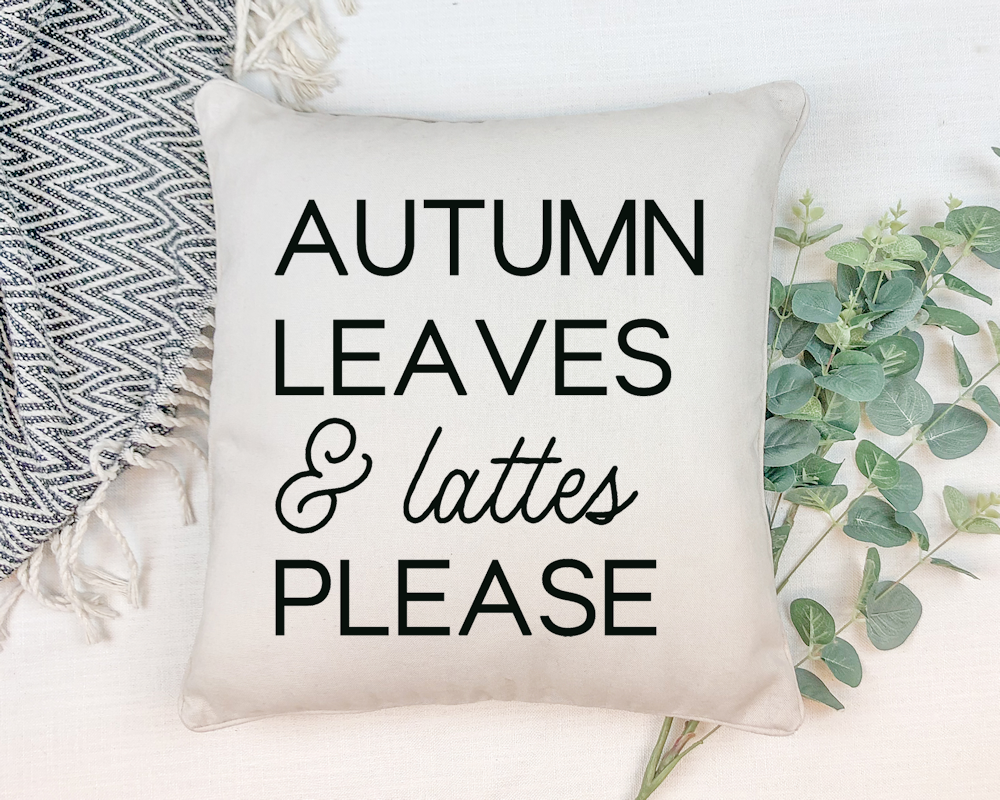
How to Make Autumn Leaves and Lattes Please Pillow
Autumn Leaves & Lattes (or Hot Cocoa) Please SVG
Materials
- Pillow Case Blank
- Heat Transfer Vinyl (HTV)
- SVG Cut File
Tools
- Silhouette Cameo
- Heat Press or Home Iron
- Weeding Tools
- Cutting Mat
Instructions
- Step 1: After downloading your SVGs, open the design of your choice in your Silhouette Studio software. To open you need to go to File > Open > and select your design from the location you saved it to on your computer. NOTE: You will need Silhouette Studio Designer Edition or higher to use an SVG. If you are running the basic edition, please let me know and I will provide you with the proper file type.
- Step 2: Resize your SVG to the size that you need according to the size shirt you will be using.
- Step 3: Now you're ready to cut. Don't forget to mirror your image BEFORE you send to cut AND make sure you select the proper material (HTV) and adjust the cut settings (if you use the ratchet blade like me). Also, the shiny side of the heat transfer vinyl (the carrier sheet side) should be face down on your cutting mat.
- Step 4: Weeding. With your weeding tools (or you can use a stick pin if you don't have any weeding tools) start removing the excess htv from around your design. You want to do this nice and slow to make sure your vinyl doesn't tear. To make things easier, try leaving your design on your cutting mat. that works best for me. Once you have the area around your design weeded, work on the inner parts of the design (i.e. letters, shapes, etc.)
- Step 5: Apply Design to Pillow Place your cut design right side up on the pillow and press on top of the carrier sheet. Always read package instructions for how to press your design including length of time, hot or cool peel, etc.
Notes
-

-

-
-
 Merry Christmas SVG File$0.00
 -
 Winter Vibes SVG File$0.00
 -
 Snow Cute SVG File$0.00