
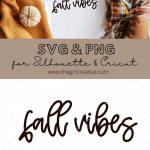
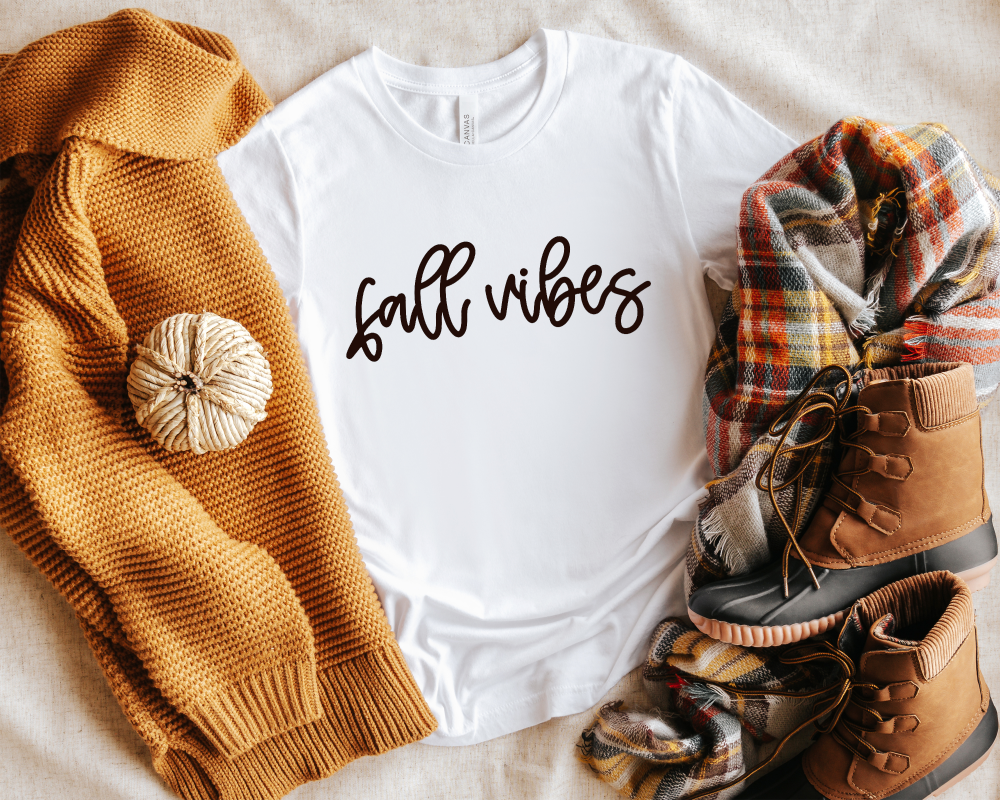
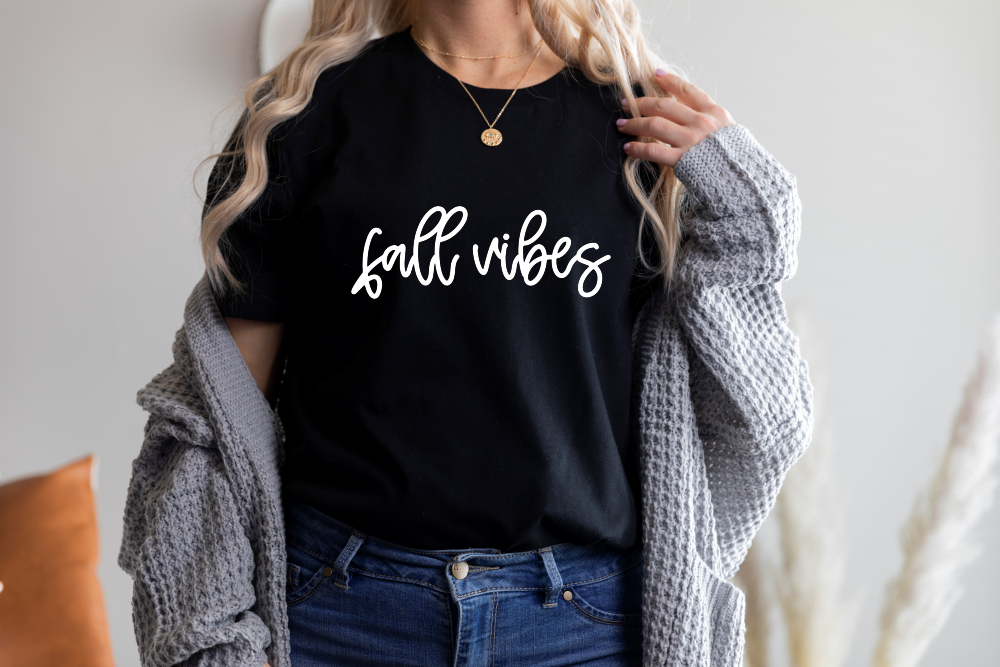
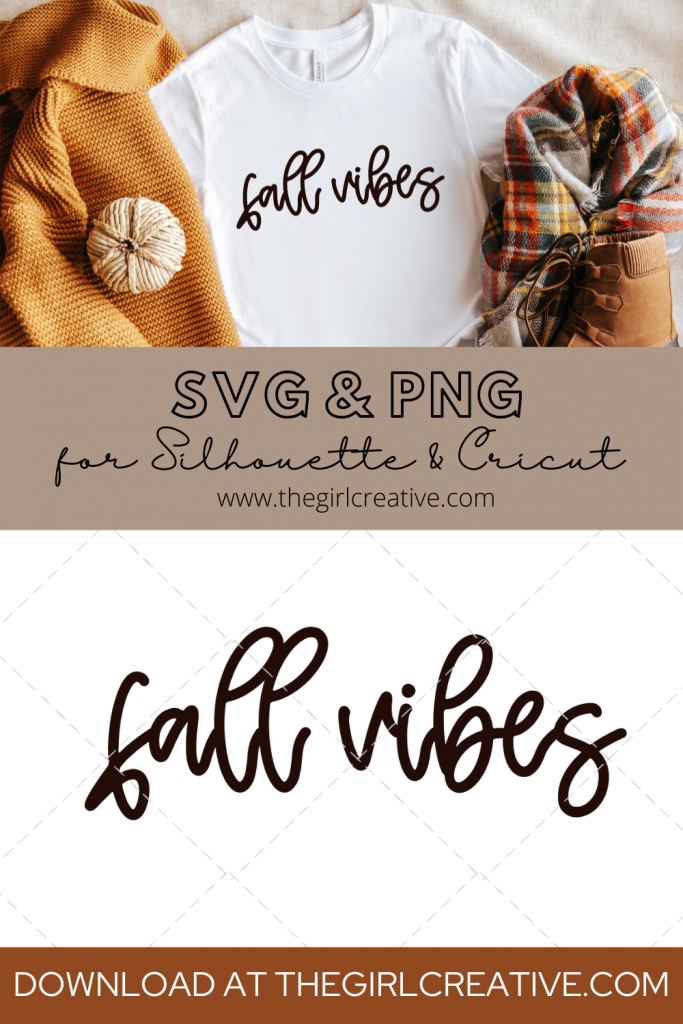
Pumpkin spice everything has hit the shelves so that means it’s officially time to bring on all things fall! I have a lot in store for you but let’s start with this Fall Vibes SVG cut file. Dust off your Silhouette Cameo, grab your crafting supplies and go have some fun!
I have a bunch of new fall SVGS coming and I have my kids to thank for it. They were never ones to sleep in but summer has done something to them and I’m here for it. They’ve been sleeping late every day and that leaves me with some much needed time to sleep in too to design.

I was recently asked, “What type of project do you have in mind when you design SVGs?”. My answer was t-shirts. I think my reasoning is 2 fold: 1. I love shirts with sayings on them. 2. I find that working with HTV (heat transfer vinyl) is easier than working with regular vinyl. Banging out a custom shirt is much quicker than making a sign, in my opinion. Most days, if I need a quick craft or last minute gift, this is my go-to.
WHAT IS AN SVG CUT FILE?
If this is your first time visiting The Girl Creative and you have never heard the term SVG, let me tell you all about it. SVG stands for Scalable Vector Graphic. An SVG can also be referred to as a digital cut file. In the DIY world, digital cut files (or SVGs) are used most commonly with the Silhouette and Cricut cutting machines.
These files can be uploaded to Silhouette Studio (designer edition and higher) and Cricut Design Space software and are used to cut out designs on various mediums such as vinyl, paper, cardstock, heat transfer vinyl (htv) and more.
What’s great about SVGs is that you can size them up or down and the integrity of the graphic will not be compromised.
You are free to use this design in any way that you’d like. You are not restricted to shirts or pillows or tote bags and you certainly do not need to use HTV. The sky is the limit when it comes to different ways to use SVG files.
If you DO want to make a shirt, I’ve included detailed instructions below.
fall svg downloads
To download this FREE “Fall Vibes” cut file for Silhouette and Cricut, simply complete the form below. Once you hit SUBSCRIBE your download will begin instantly. These designs are FREE for PERSONAL USE. Download includes the following files all zipped up in one download: SVG and PNG. You will need to extract the files and save them to your preferred location on your computer. It is recommended that you download these files to a computer and not a smartphone. If you choose to download these files to your iPhone they will be located in your Files Folder.

How to Make a Tshirt with Your Silhouette Cameo
Fall Vibes SVG and how to use it to make your own t-shirt.
Materials
- Blank T-shirt
- Heat Transfer Vinyl (HTV)
- SVG Cut File
Tools
- Silhouette Cameo
- Heat Press or Home Iron
- Weeding Tools
Instructions
- Step 1: After downloading your SVGs, open the design of your choice in your Silhouette Studio software. To open you need to go to File > Open > and select your design from the location you saved it to on your computer. NOTE: You will need Silhouette Studio Designer Edition or higher to use an SVG. If you are running the basic edition, please let me know and I will provide you with the proper file type.
- Step 2: Resize your SVG to the size that you need according to the size shirt you will be using.
- Step 3: Now you're ready to cut. Don't forget to mirror your image BEFORE you send to cut AND make sure you select the proper material (HTV) and adjust the cut settings (if you use the ratchet blade like me). Also, the shiny side of the heat transfer vinyl (the carrier sheet side) should be face down on your cutting mat.
- Step 4: Weeding. With your weeding tools (or you can use a stick pin if you don't have any weeding tools) start removing the excess htv from around your design. You want to do this nice and slow to make sure your vinyl doesn't tear. To make things easier, try leaving your design on your cutting mat. that works best for me. Once you have the area around your design weeded, work on the inner parts of the design (i.e. letters, shapes, etc.)
- Step 5: Applying Design to Shirt A rule of thumb when it comes to placing your design on the shirt is leaving about 3 inches from the top of your design to the neckline of your t-shirt. Once you have the design placed where you want it, it's time to press it.
- I don't have anything fancy equipment at home so my regular clothing iron is what I have to work with. I always read package instructions for how to press my design.
Notes
As seen in:
Latest in our Shop
Latest Cricut Projects
See All >
No posts
No posts


Thank you!