
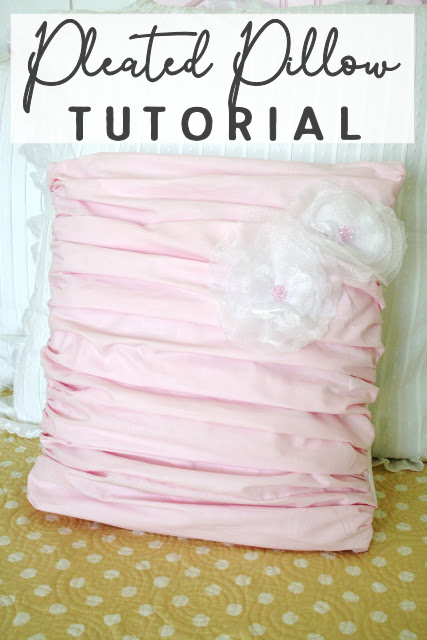
Pleated Pillow Tutorial
My favorite pillows are pleated pillows. I’m so excited for you to check out this Pleated Pillow Tutorial.
Okay… so you know how you have an idea, but you’re not really quite sure how you’re going to execute it… well… THIS was one of those kinds of projects. lol.
I had this extra material left, from making my shower curtain extension… and wanted to make a pillow, but the form I had was square… and I just had this long piece of pink fabric left…

Pleated Pillow Tutorial
I was determined to give it a go so I got started.
I cut my long piece of fabric into three sections like so, about the size of my pillow form, plus half.

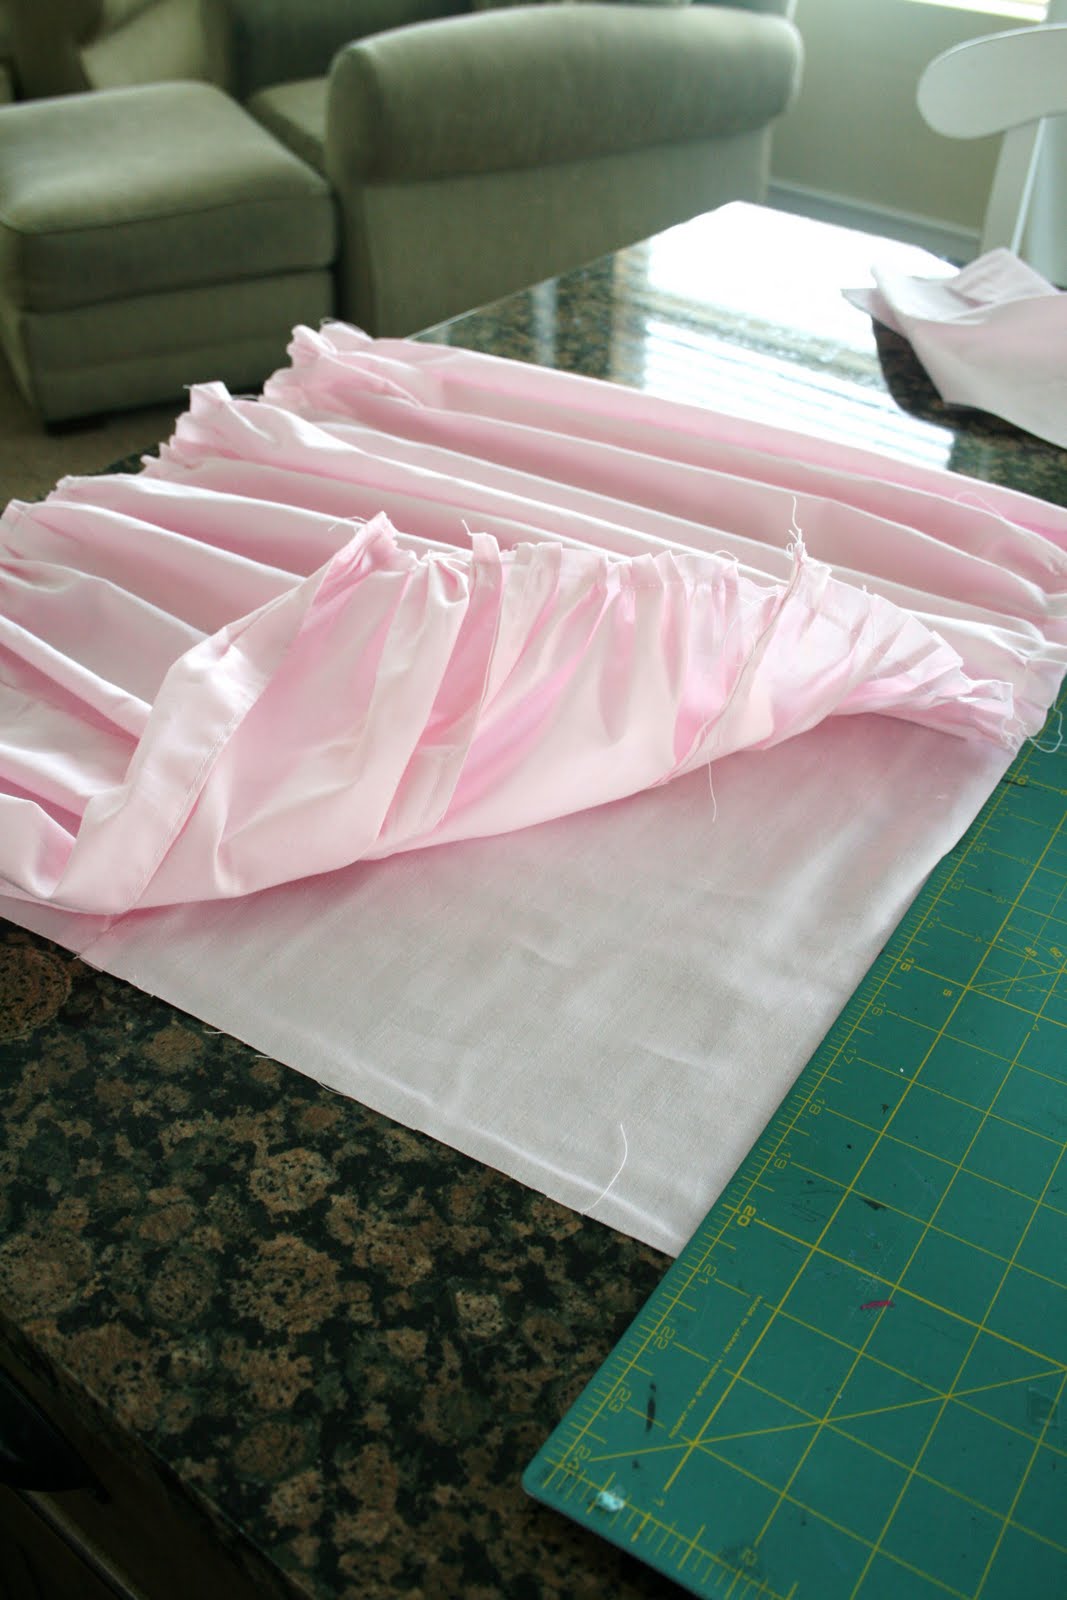
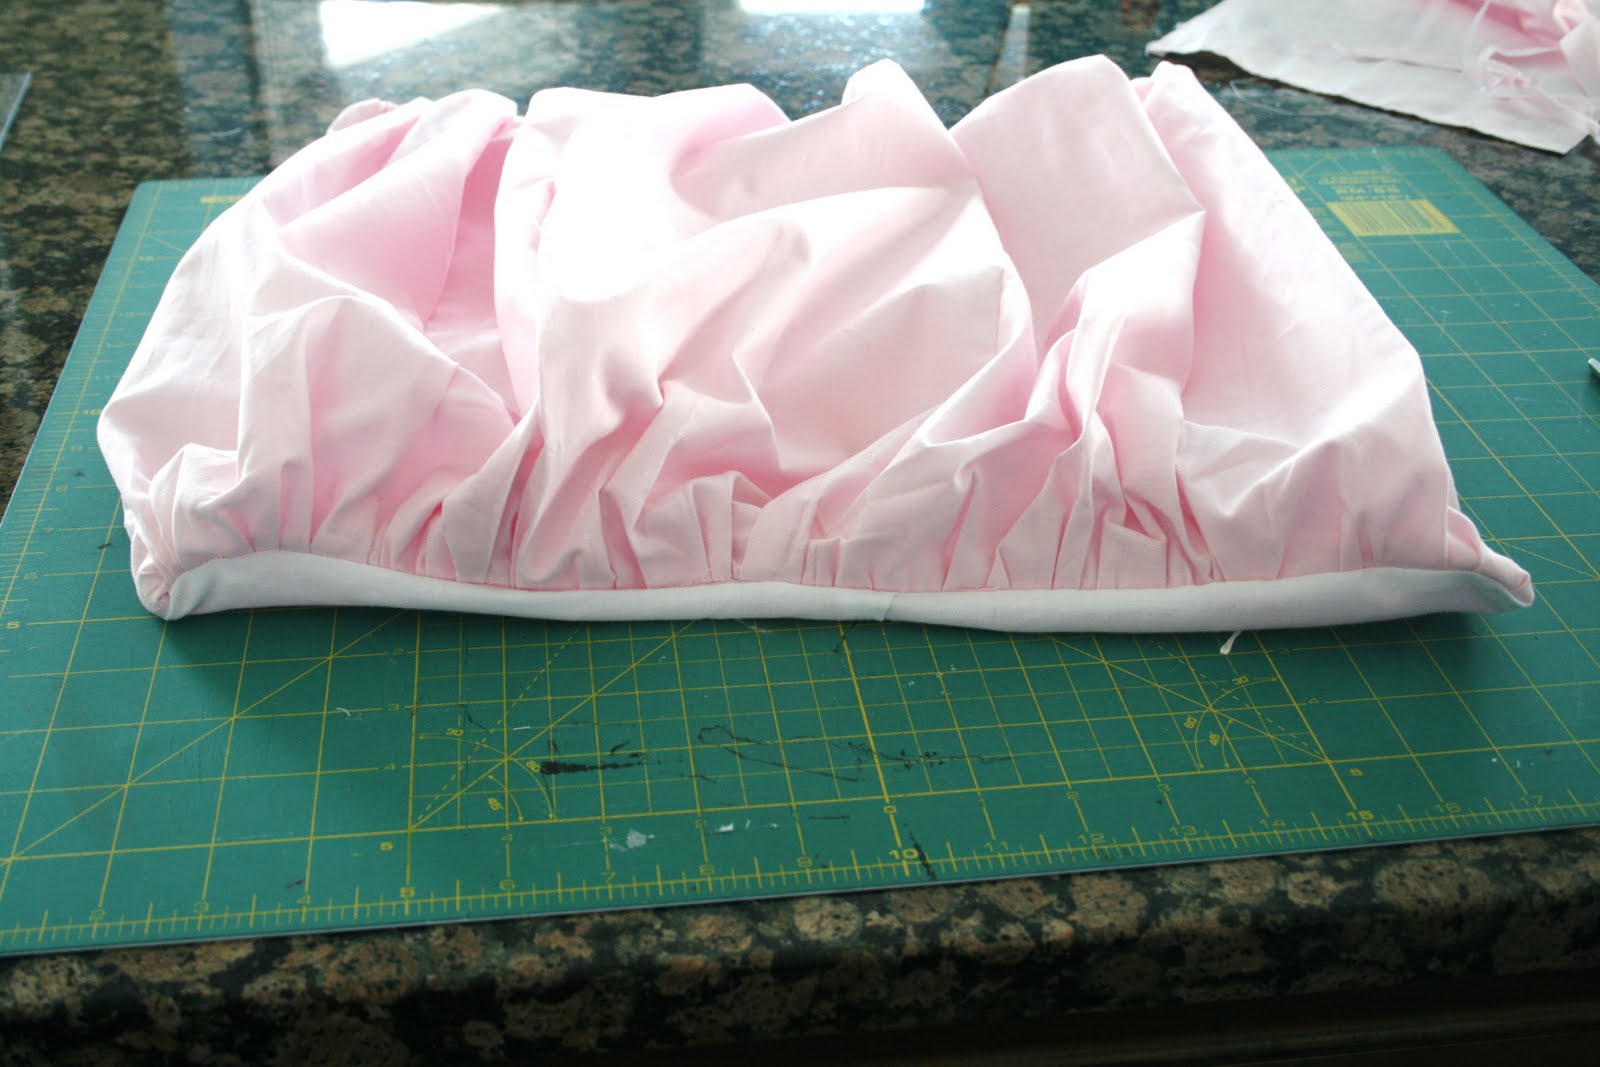
Then free handed a ruffle on either side of the large piece of fabric.
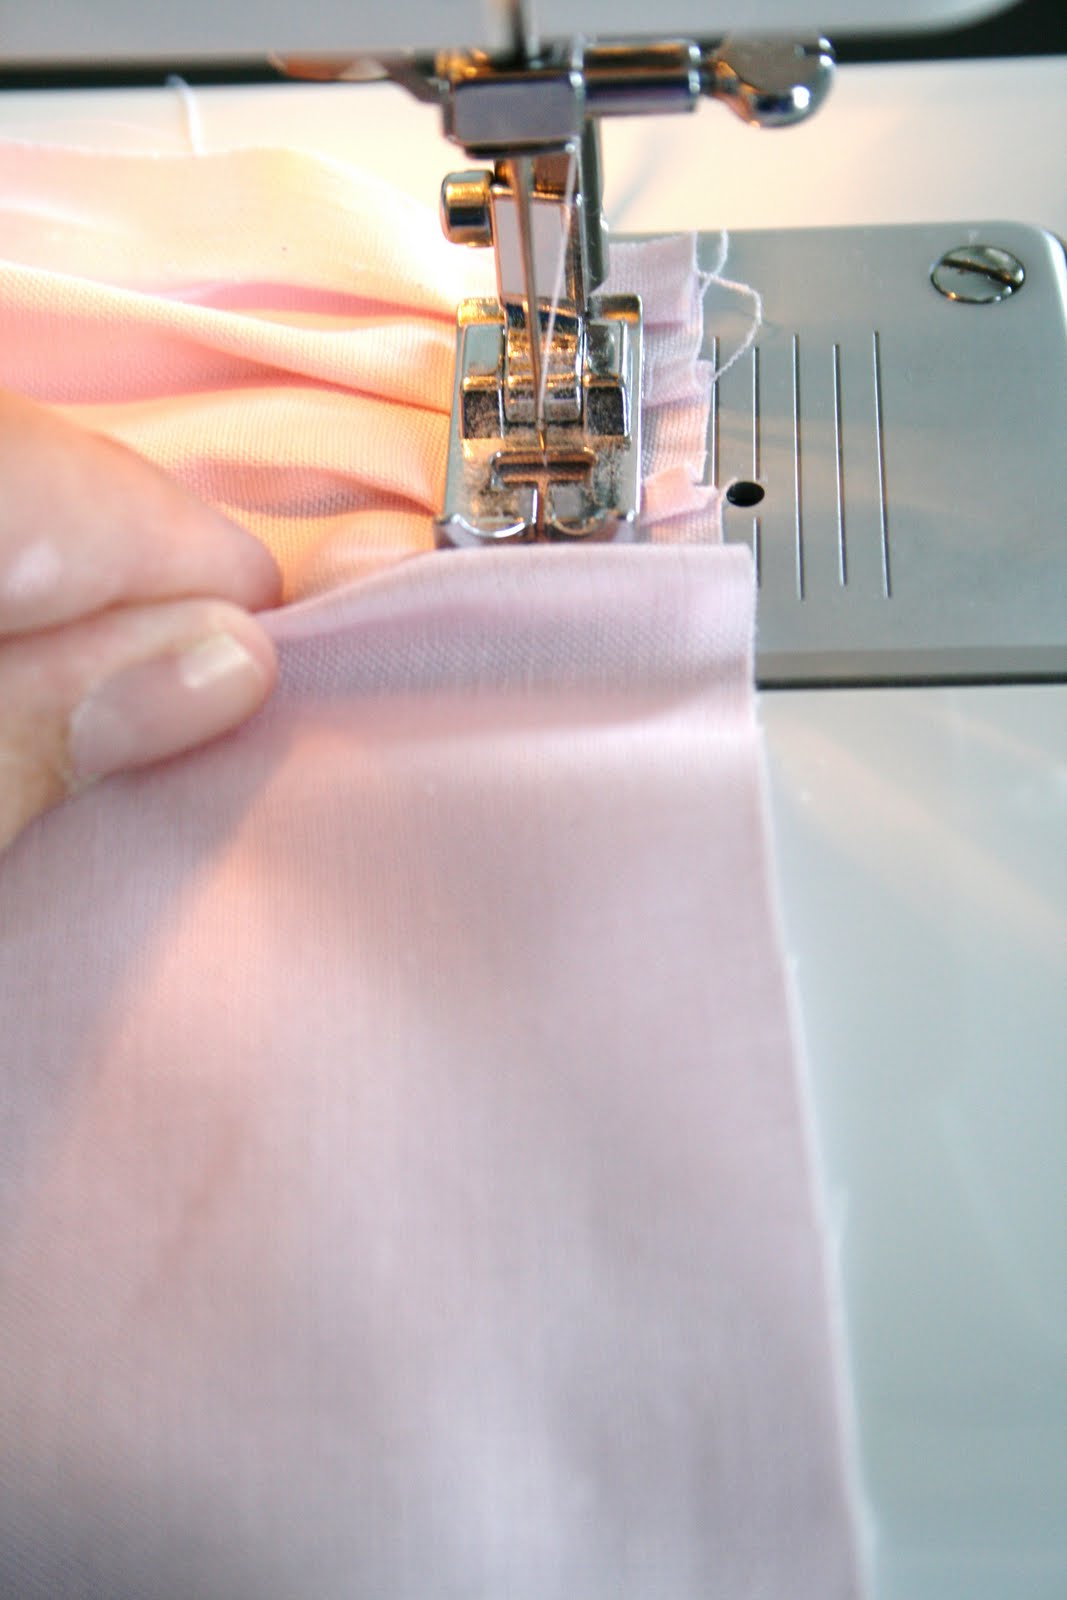
It looked like this after I was done – kinda billowy and full.

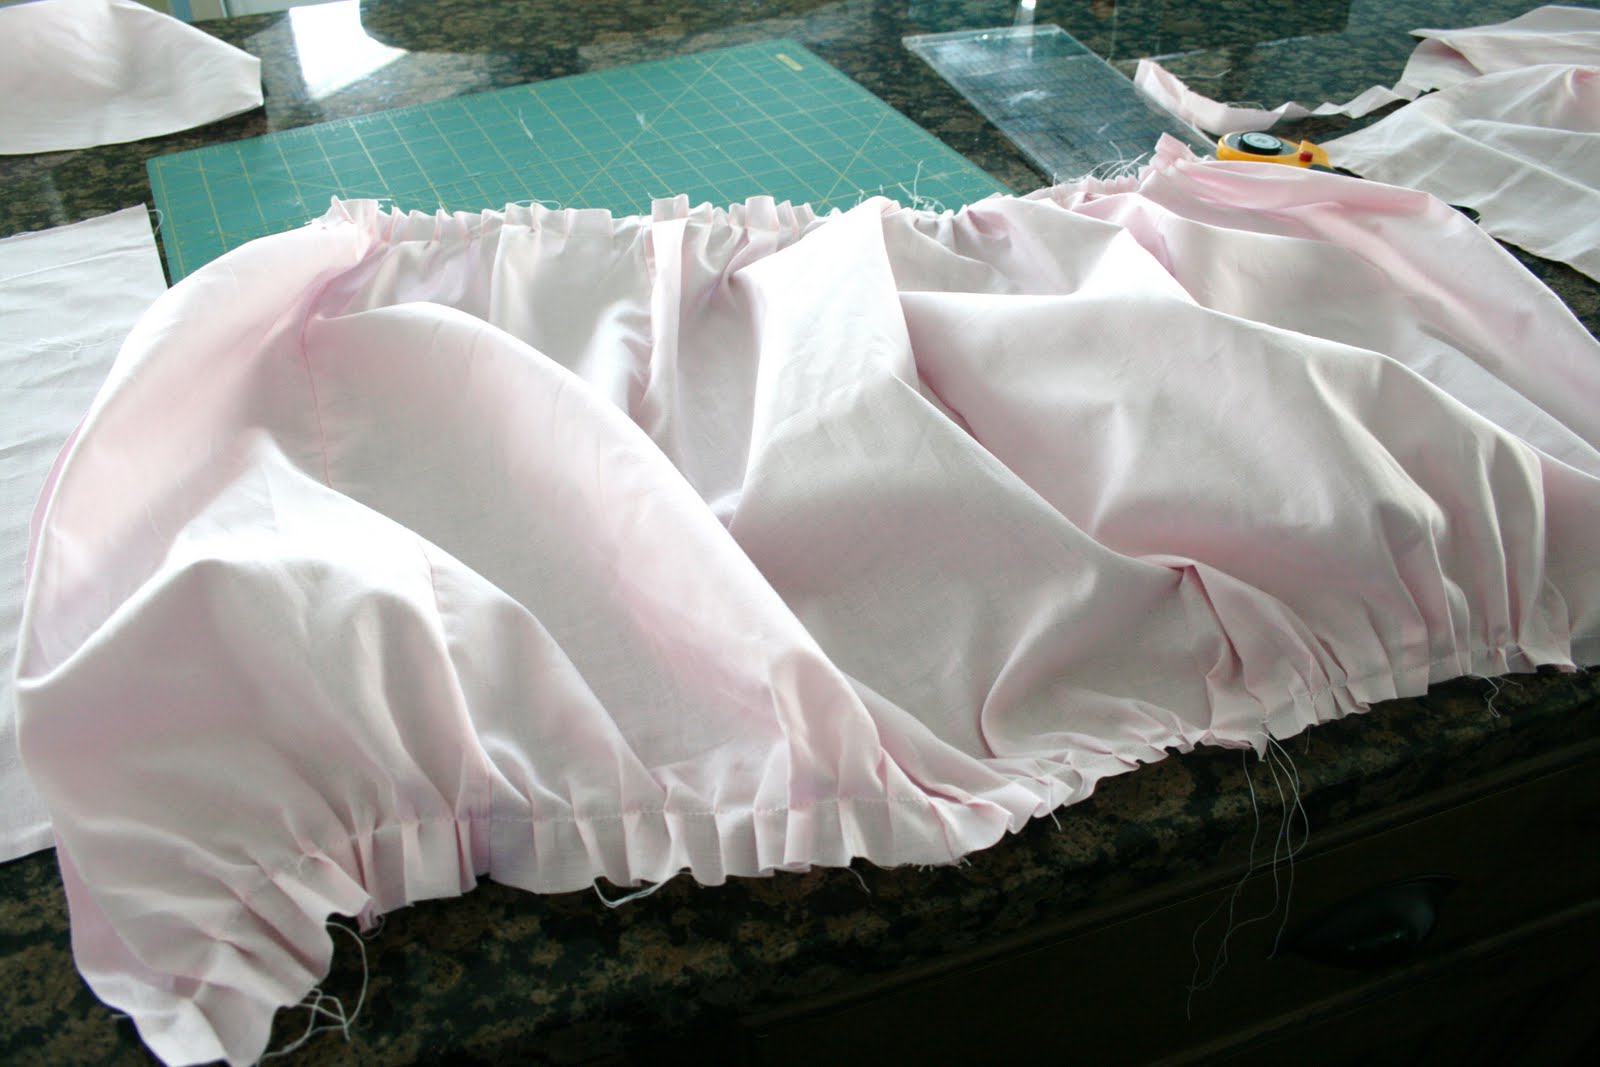
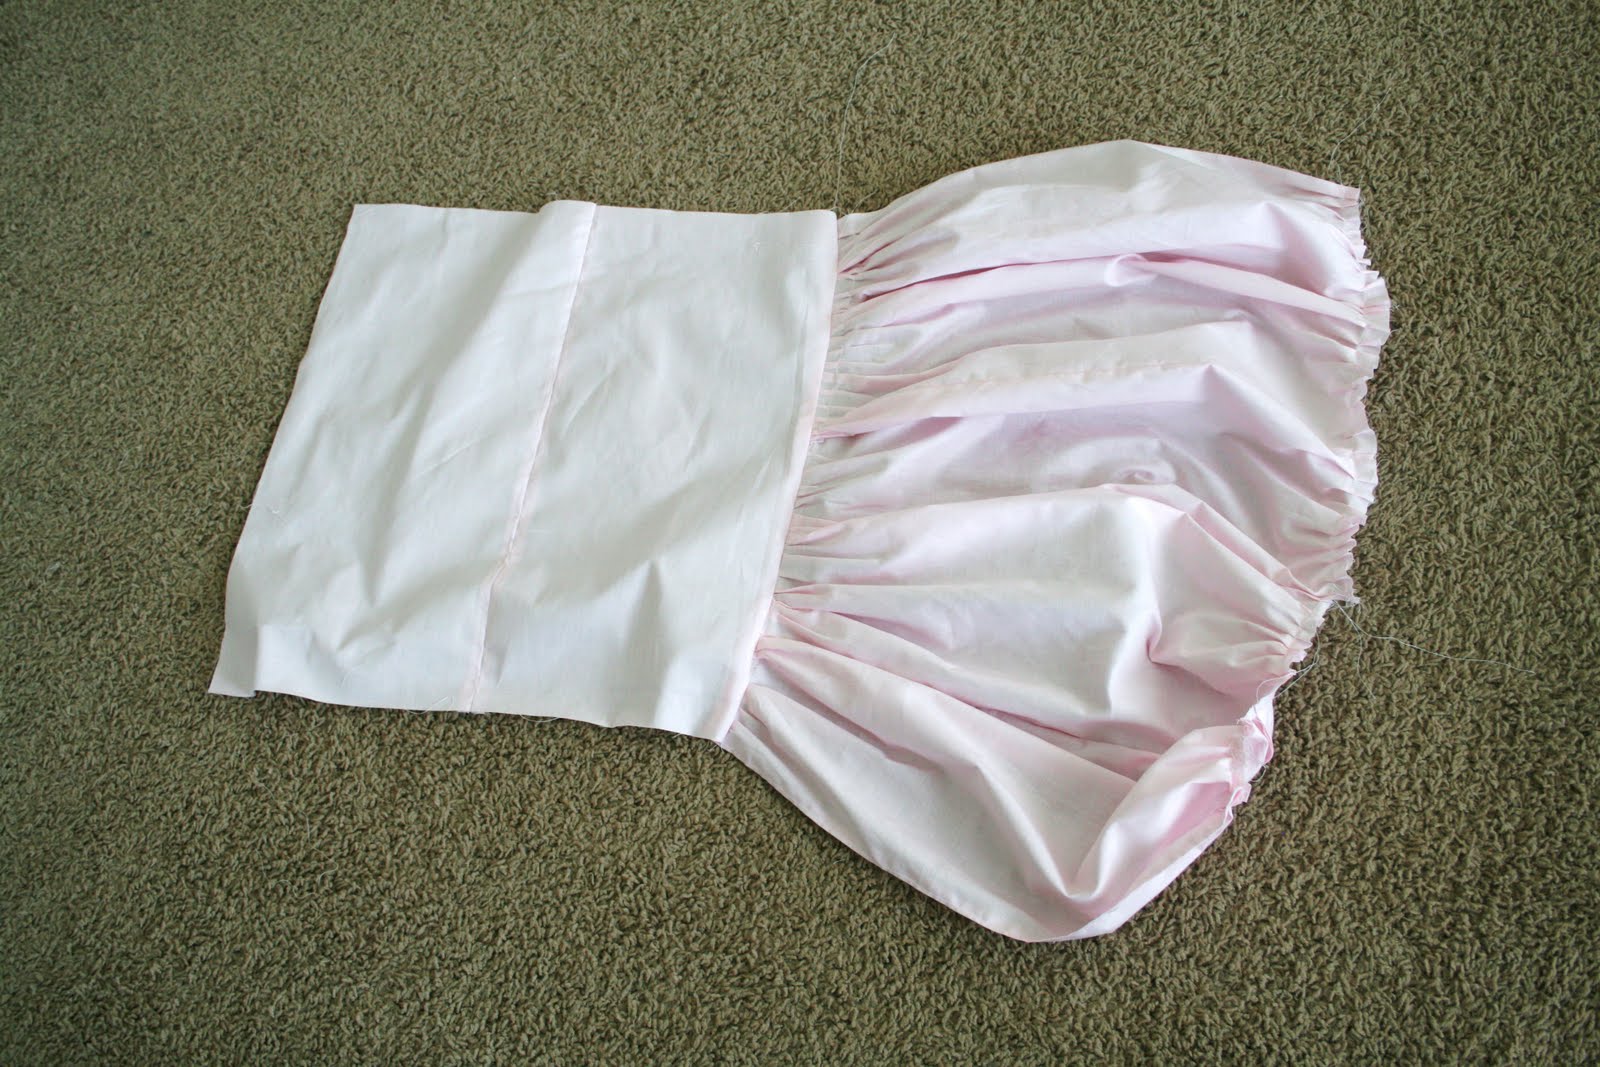
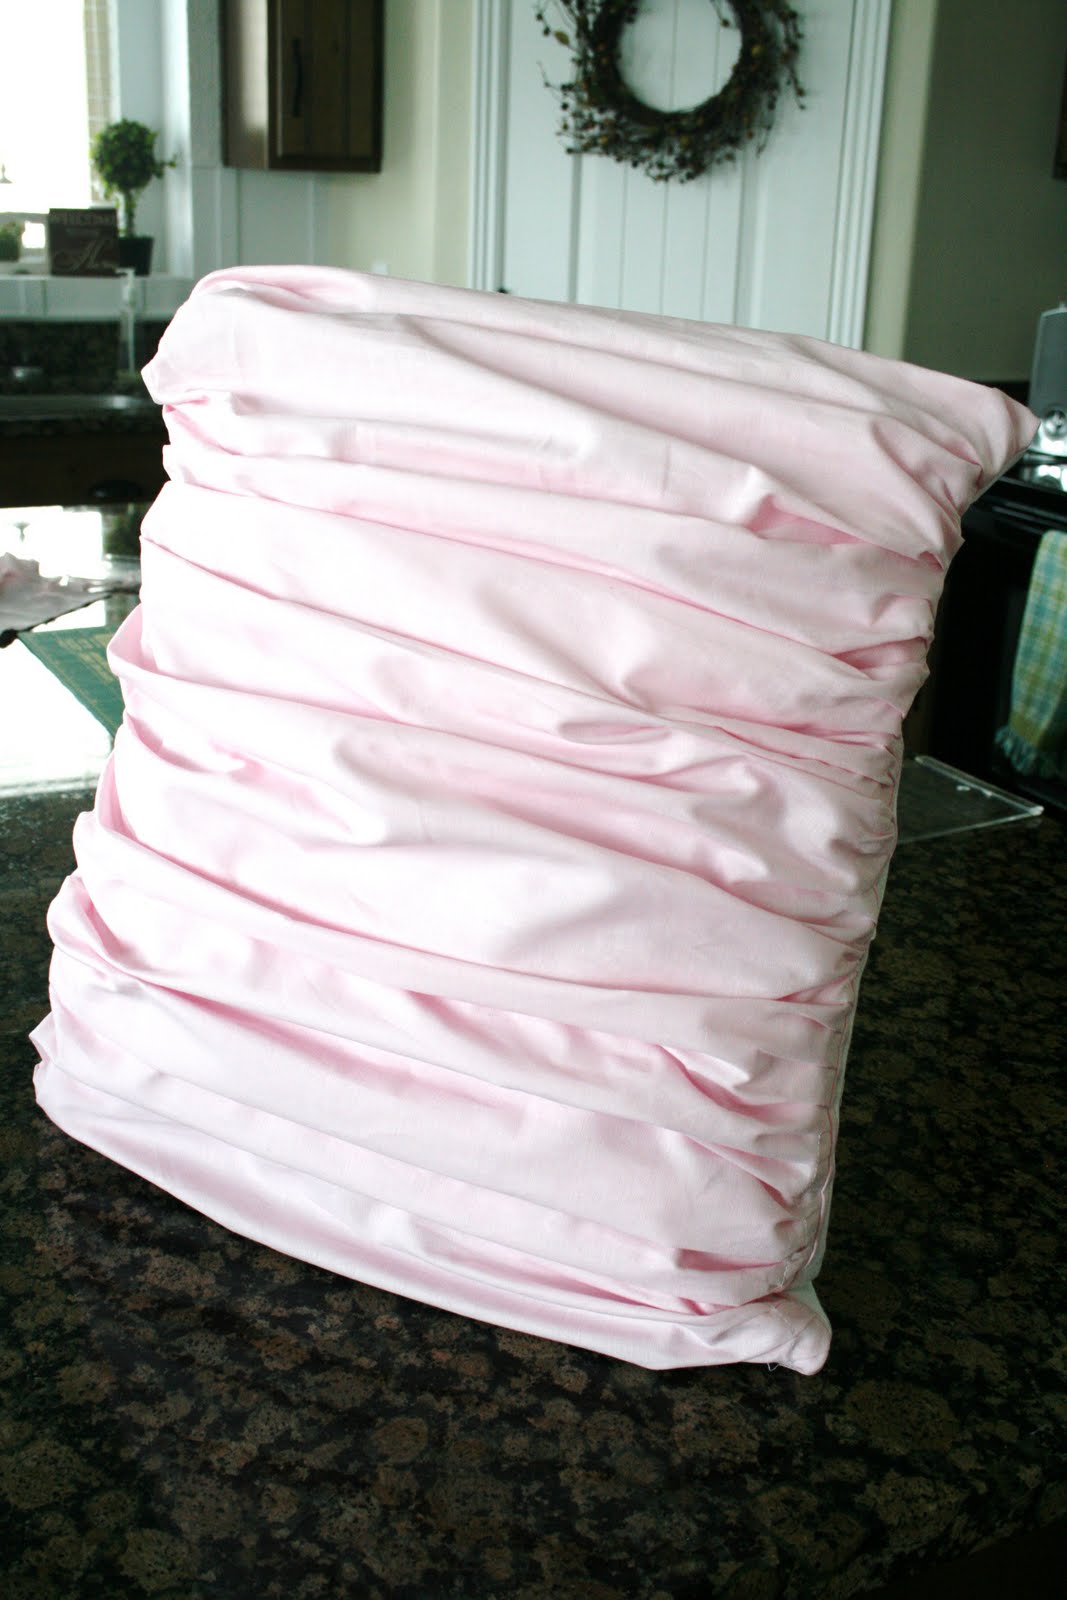
Then I kinda pleated/folded the fabric to fit onto another square piece of fabric, the size of my pillow
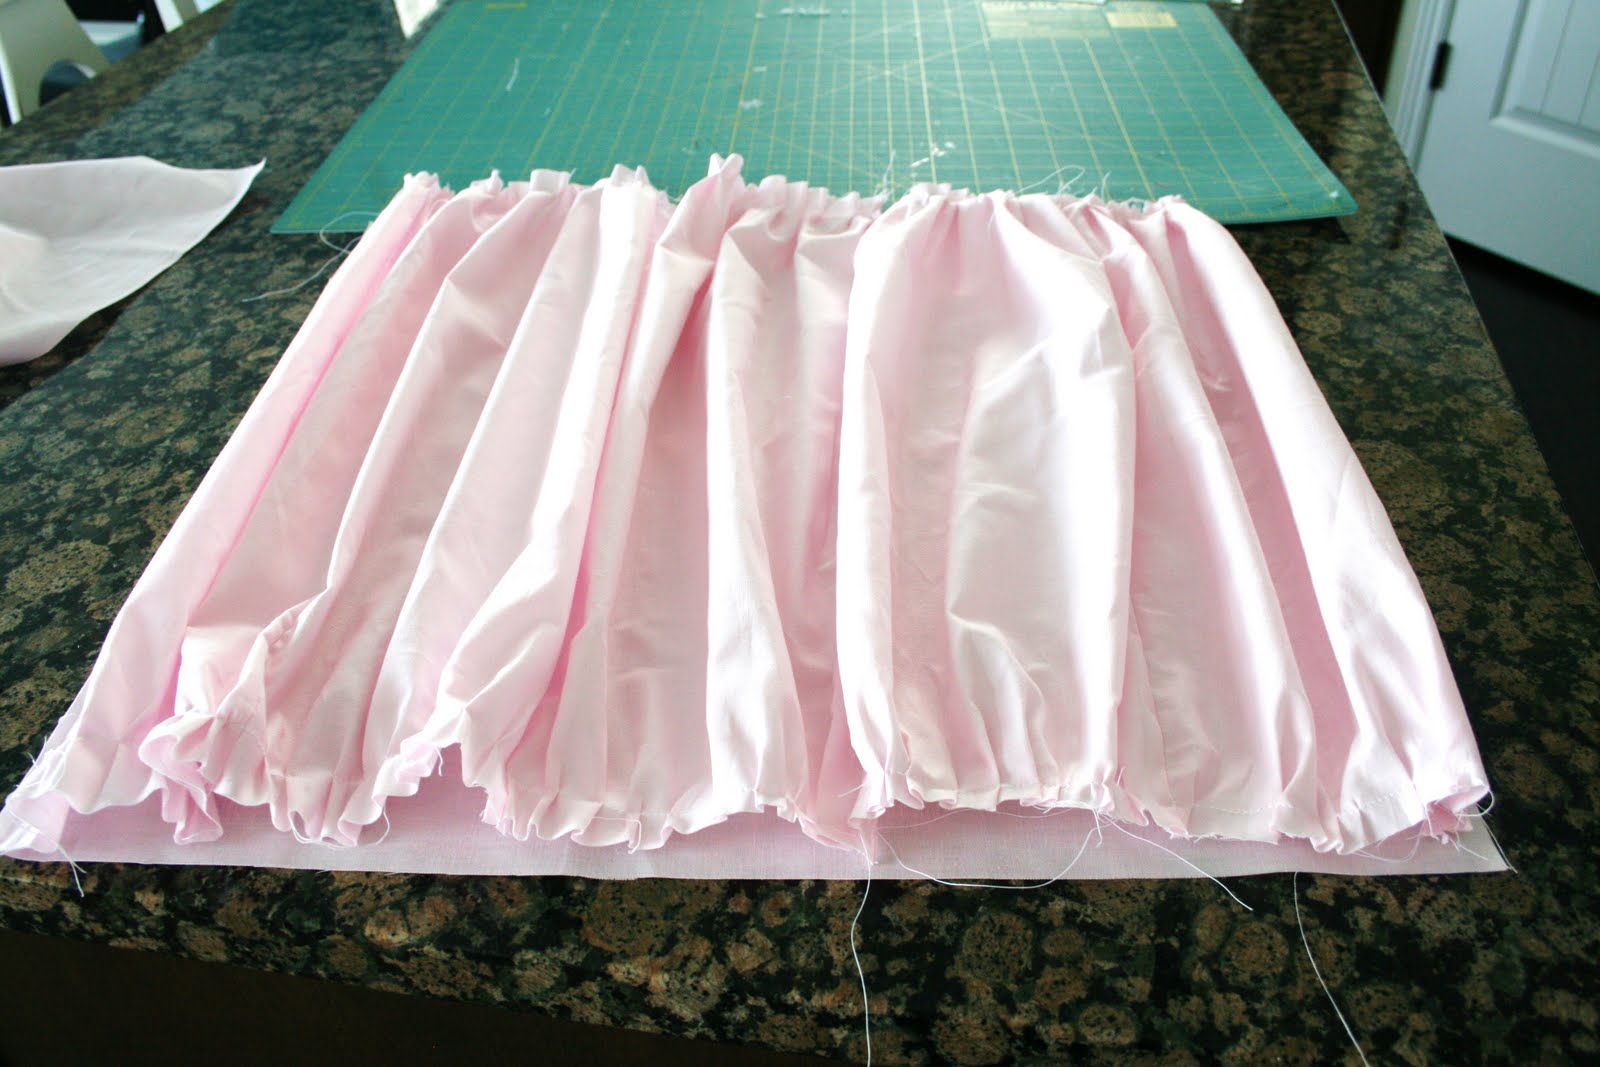
I sewed up one side of the pleat onto the pillow sized piece… like so.
Here it is with ONE side done… so you can see what I mean.
( I don’t know if you can see it, but the pillow sized piece of fabric is pieced together too. You’ll never see it, so it doesn’t matter)
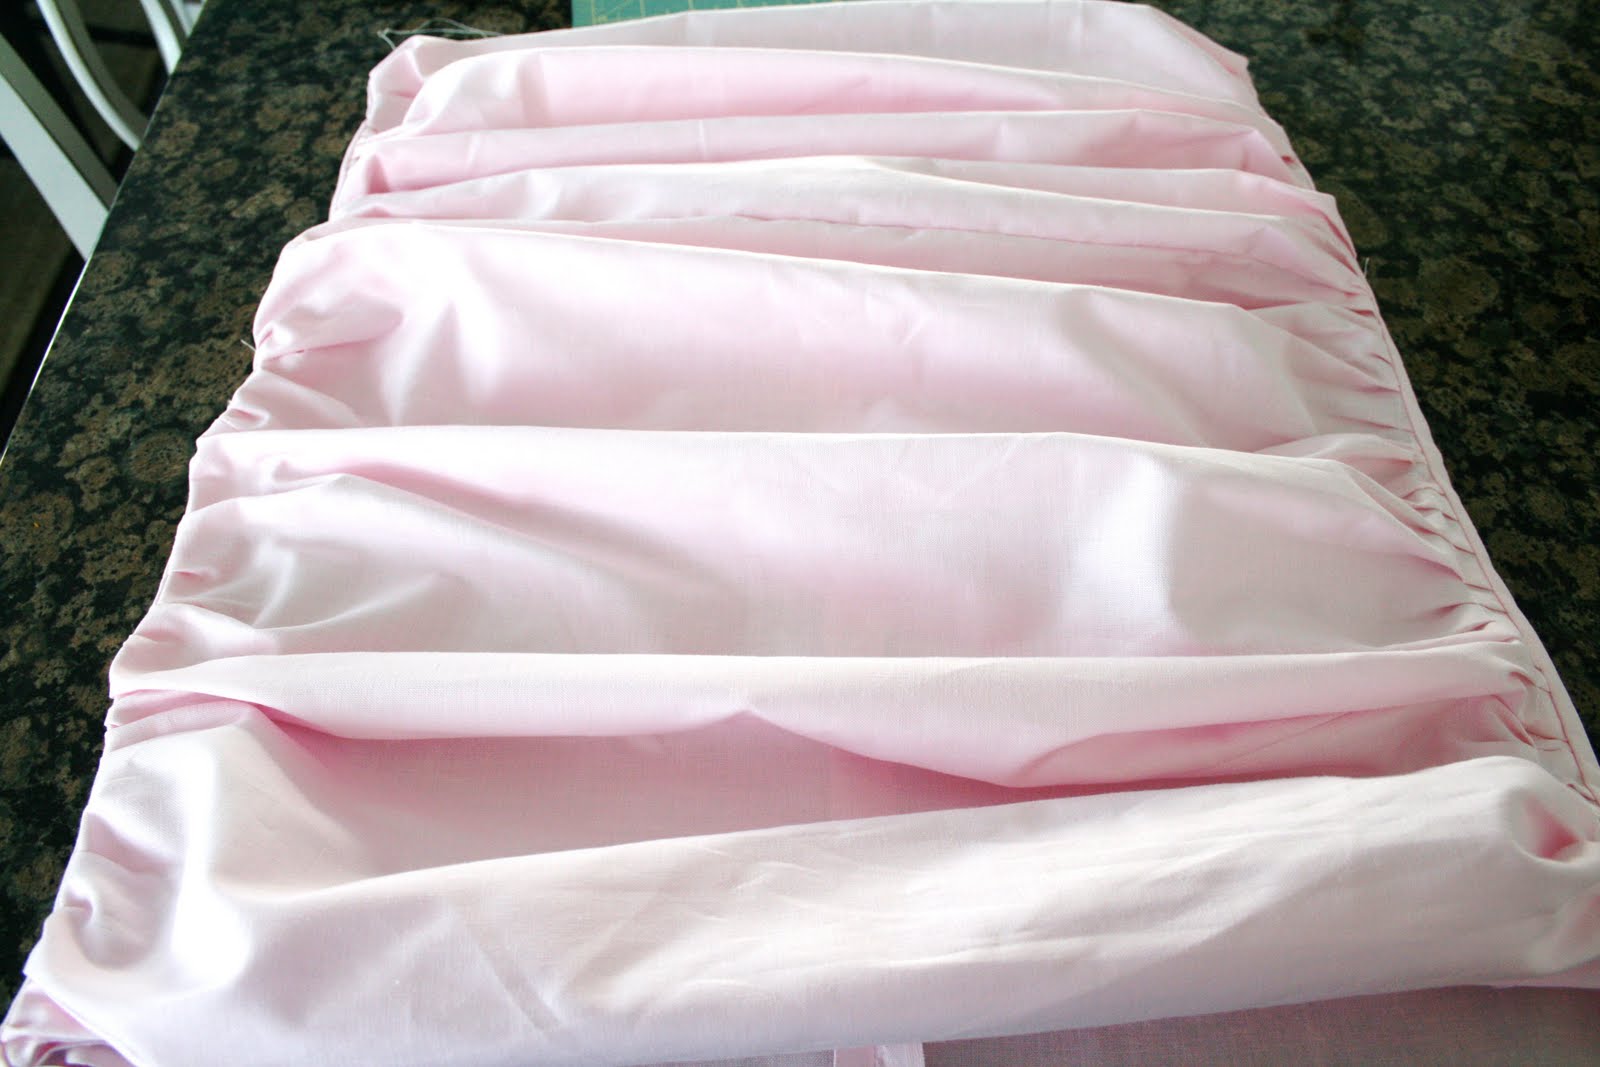
Then I sewed the other side of the pleated fabric onto the square pillow form, and flipped it right side out and it now looked like this.

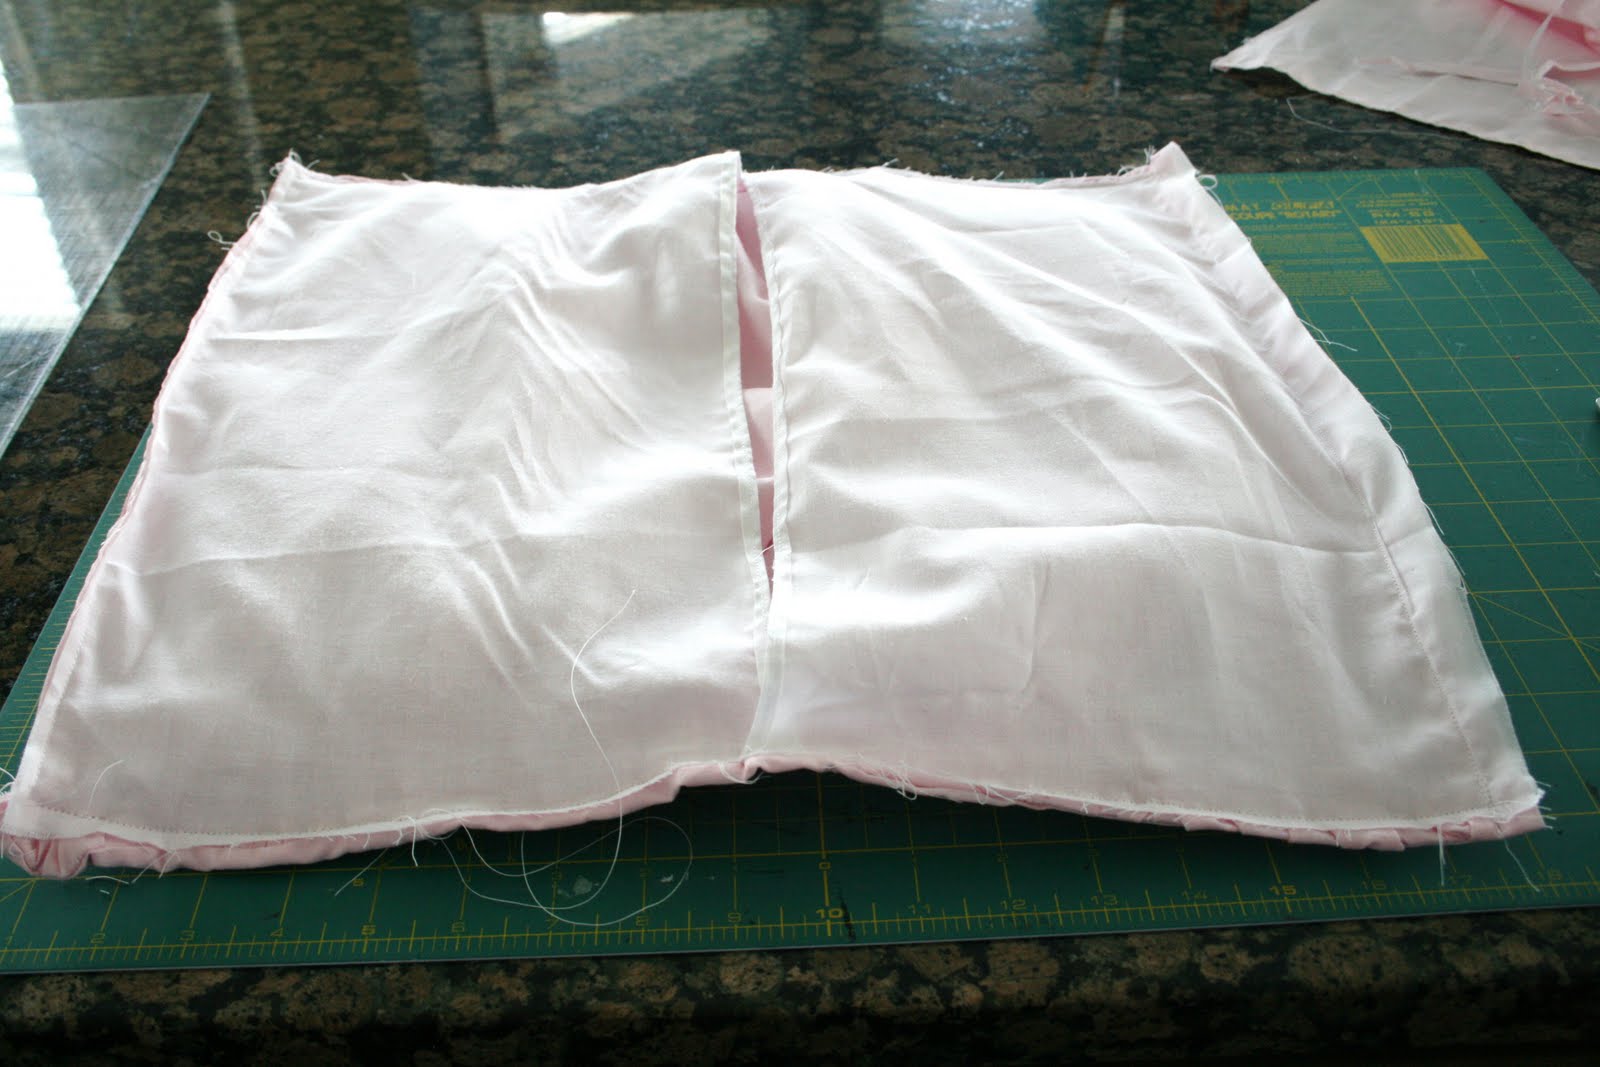
I knew I wanted to make a “slip in back” (what is that really called? lol) for this pillow so I measured out some white fabric a little larger than my pillow form, cut it into two pieces.

And sewed a seam up each exposed side… and then sewed down a bit on the bottom and top, to keep it together… but still left an opening for the pillow to go into.

Then I attached the whole piece to the pleated piece…
And flipped it right side out!
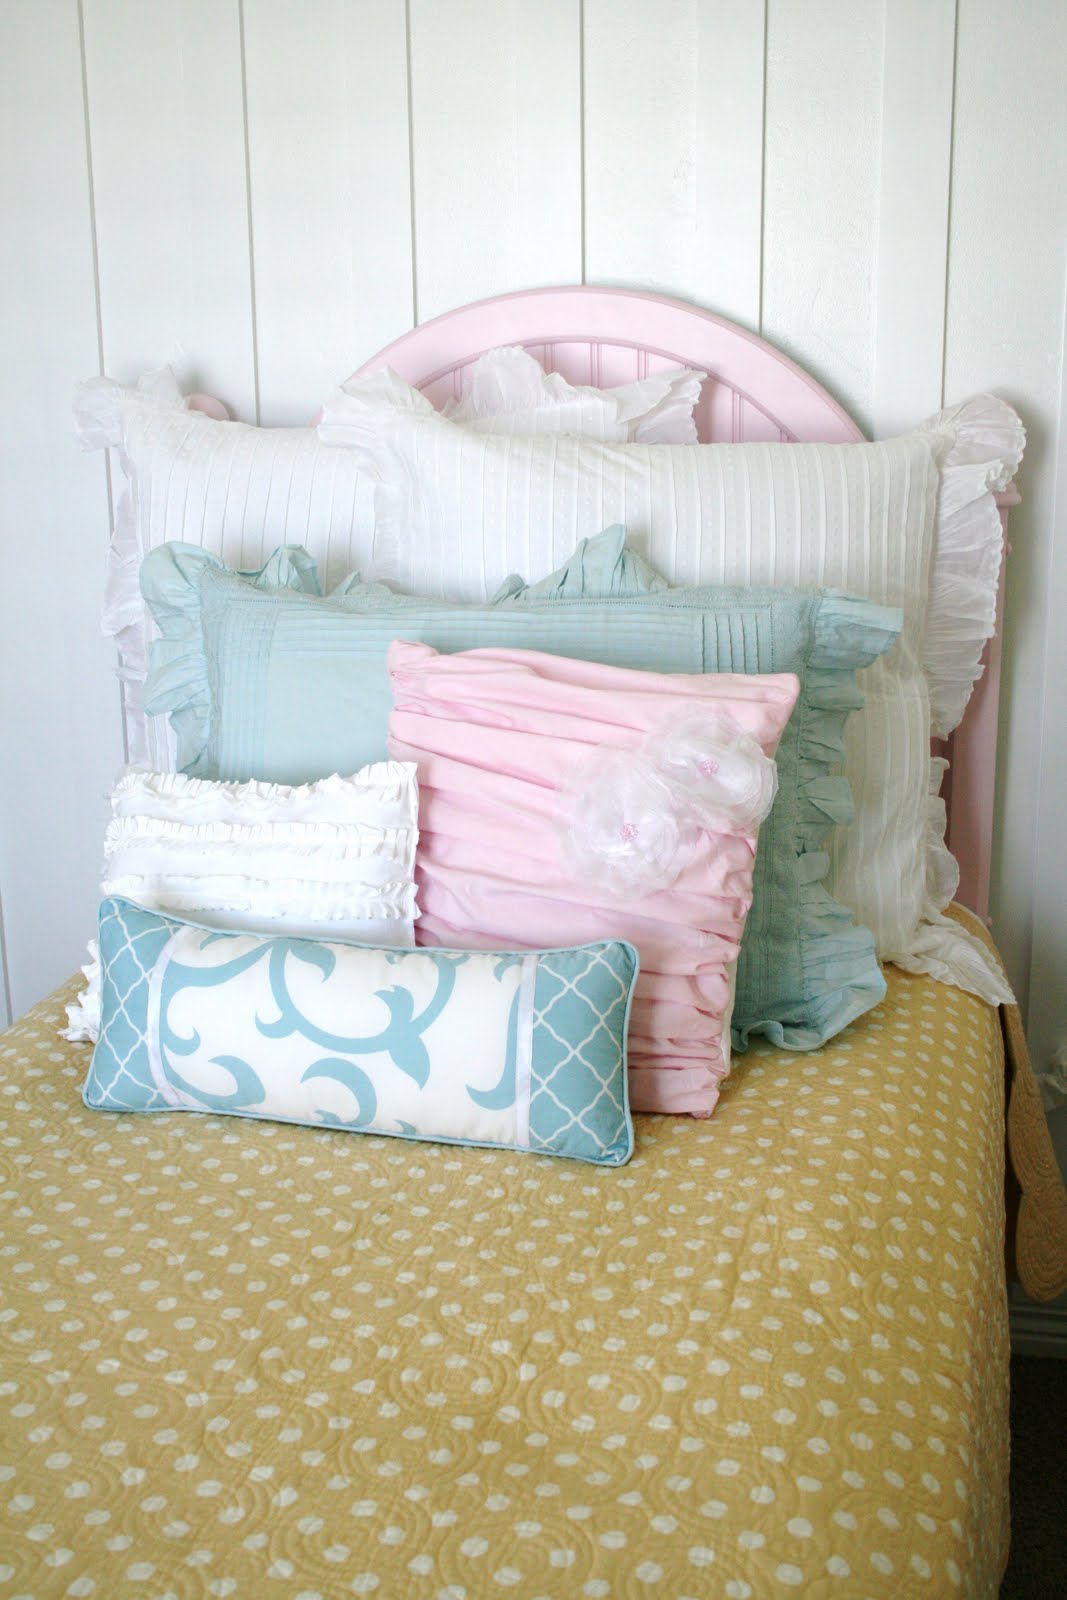
Insert pillow…and you’re done!
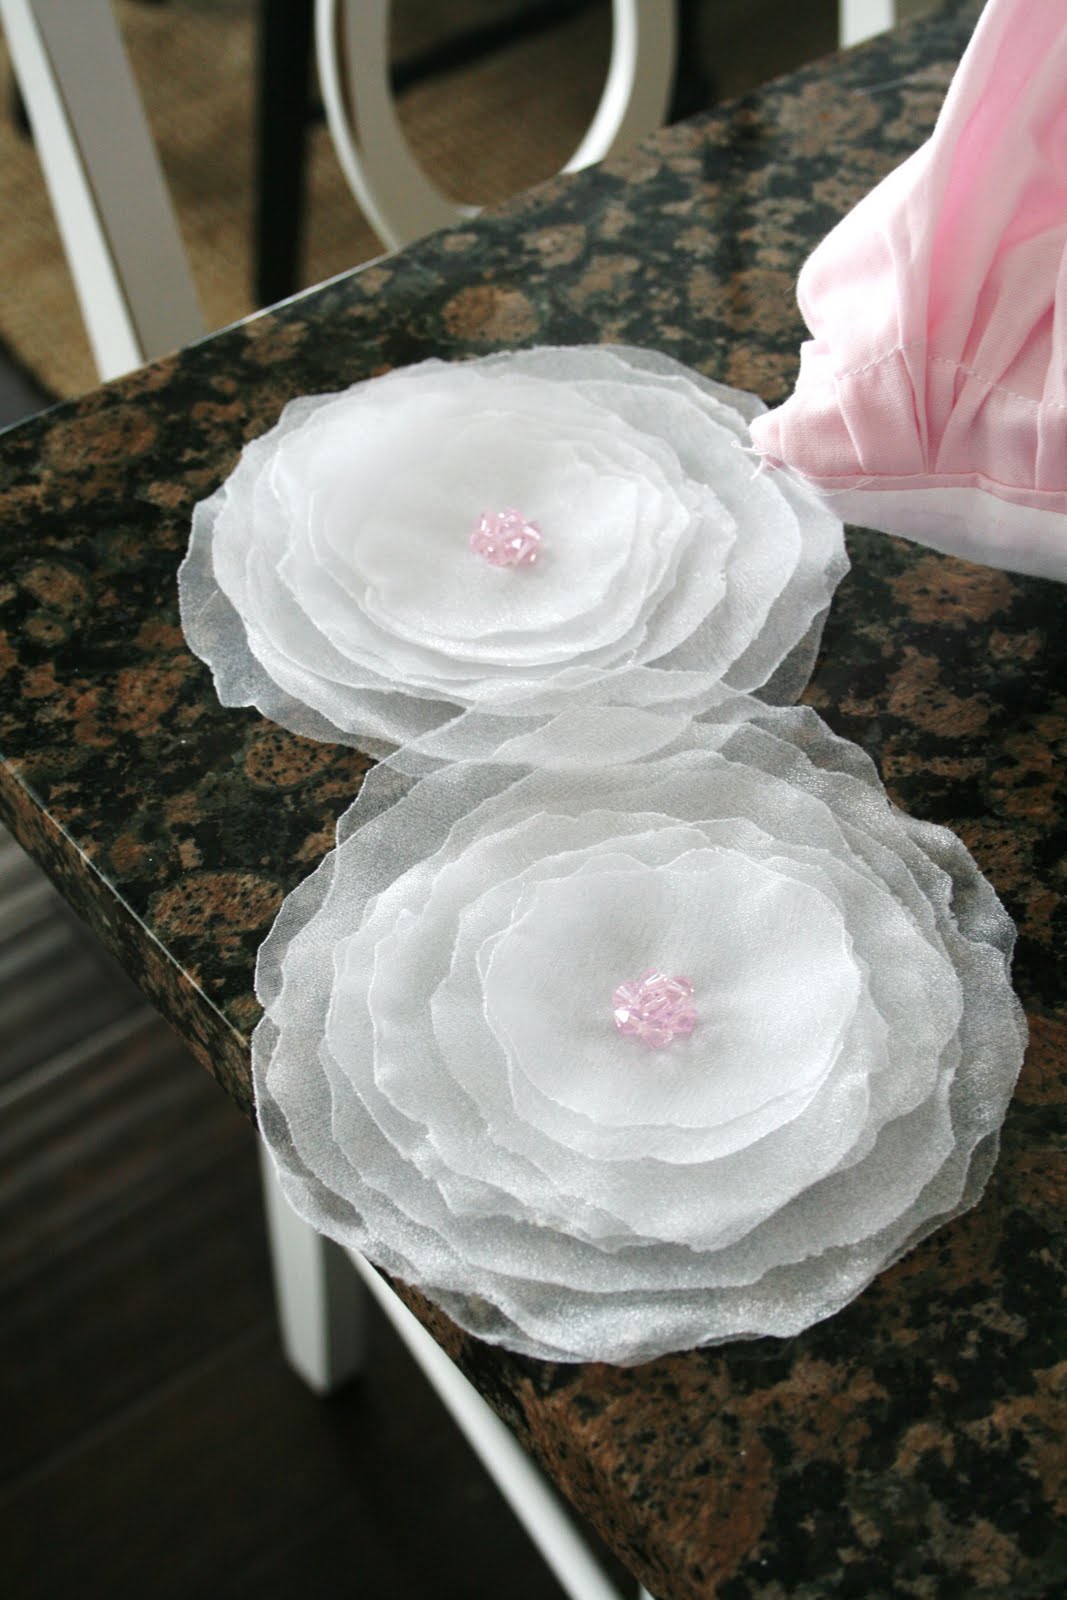
After that I took a needle and thread and attached the cute singed flowers that I did.
There you go! So cute right? And a little bit different! I love it!

This wasn’t the EASIEST project ever… but it’s ME and a sewing machine… so I KNOW that ANYONE can do it 🙂 It’s all straight sewing… it just takes a little bit of thinking and time. 🙂
Thanks so much to Shelly Smith for sharing this tutorial!
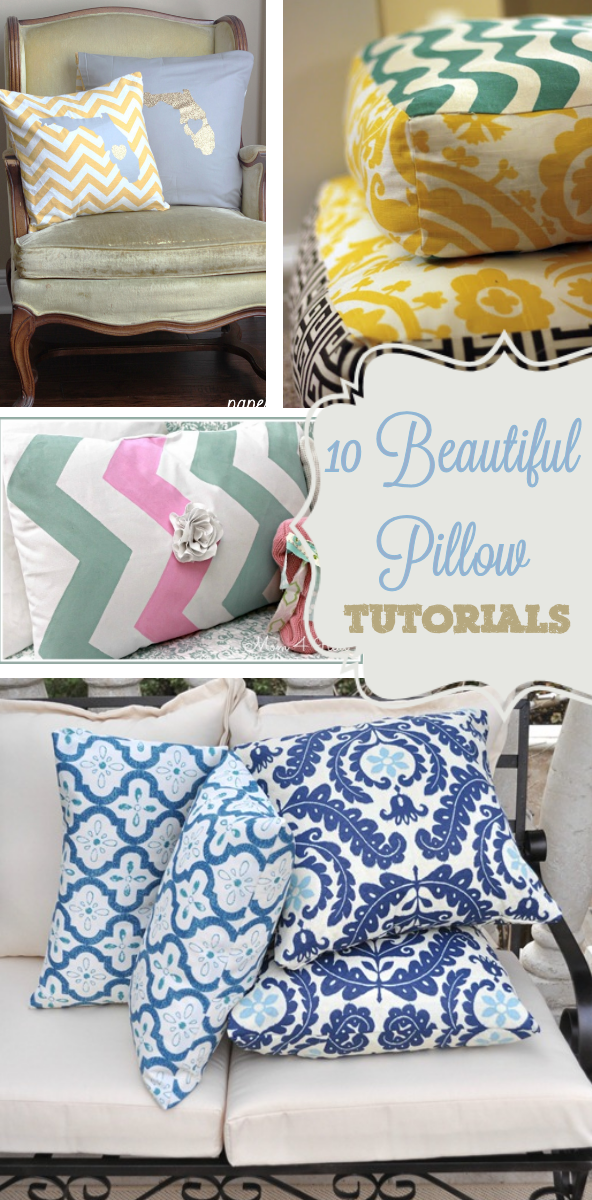
If you loved this tutorial, you’ll definitely want to check out these beautiful DIY Pillow Tutorials!
i just fell in love with this pillow! thanks SO much for sharing, it’s just what i need for my daughters room!!
Awesome!!
i love that pillow! i’m very new to sewing, but i think i’ll take a crack at this! thanks for the tutorial and inspiration! ~~DD
That is very cute…and I believe that opening ont he back is called an envelope opening 🙂
xx Karen
I think that pillow is fantastic! You did a great job and it looks great on your bed!
LOVE this! Thanks for a great tutorial!
This is adorable! I love the flowers!
Thanks for sharing this! 🙂
I have to say that this pillow has been my favorite to DATE! 🙂
It’s so fun, and adds lots of texture to the bed too!
Thanks again, girl!
~Shelley Smith
houseofsmiths.blogspot.com
Absolutely darling! It’s so feminine, soft and lovely! What a beautiful compliment to that delightful bed!
Yummy pillow idea! Simply rocking!
This is a adorable!
I love it, it’s darling!!
Now I have to know where you got that polka dot bedding…it’s darling!!
This is so clever/cute!
I LOVE everyone of the items form House of Smith. Beautiful.
This is TOO cute! And sounds like something I could totally do, IF I knew how to sew….and had a sewing machine. lol That would probably help! It’s so feminine though! I love it!
That final photo sealed the deal. I’m taking major notes for Madelyn’s big little girl room (post crib/first little bed). I wanted to crawl into the picture and snuggle up.
Gorgeous, I would love it for my daughter’s room!
VERY cute! I love all the pillows together on the bed. And like someone said above, it’s called an envelope closure. I’m going to have to click over to the flowers, those are so cute.
I wouldn’t say that I’m a sewing pro at all but I think what you came up with is brilliant! It looks amazing! Great job – I love it.
This is awesome! Thank you so much to {House of Smiths}~love the name btw~ for sharing this amazing tutorial. We are hopefully getting a new sectional couch soon & I would love to make some fun pillows to go with it…this one is definately on the list! Thanks again!