
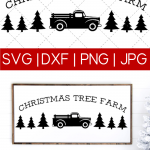
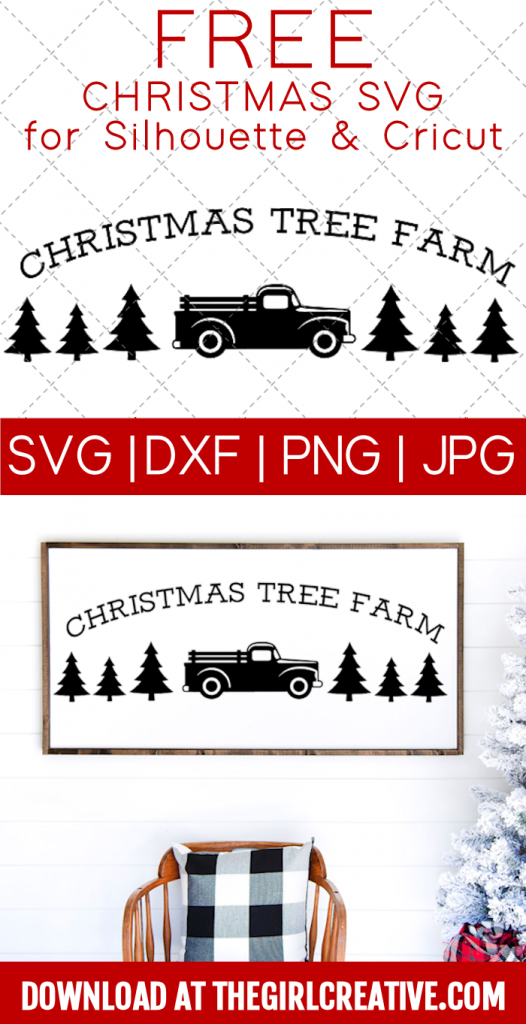
Free Christmas Tree Farm SVG
This post was updated on 10/21/2020
Grab your Cricut or Silhouette, download this Free Christmas Tree Farm SVG and make this easy farmhouse sign to add to your Christmas decor.
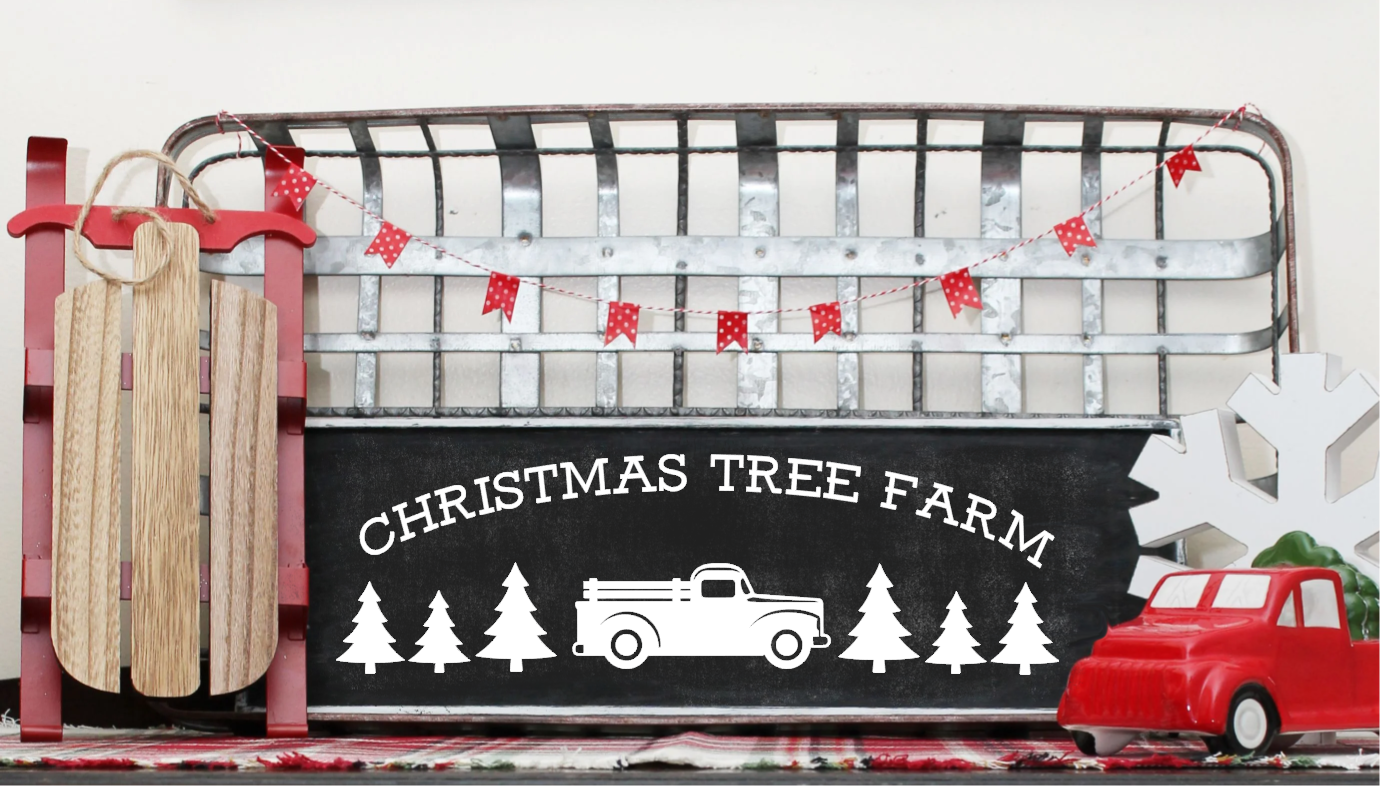
DIY Christmas Tree Farm Sign
This DIY Christmas Tree Farm Sign is a great beginner project if you are a new Silhouette Cameo user and just starting out.
Below you’ll see photos of the process with instructions along the way. At the bottom of the post you’ll be able to download the FREE Christmas Tree Farm svg.
If this project isn’t for you, check out this post: 15 FREE Christmas SVGs
Christmas Tree Farm Sign Supply List
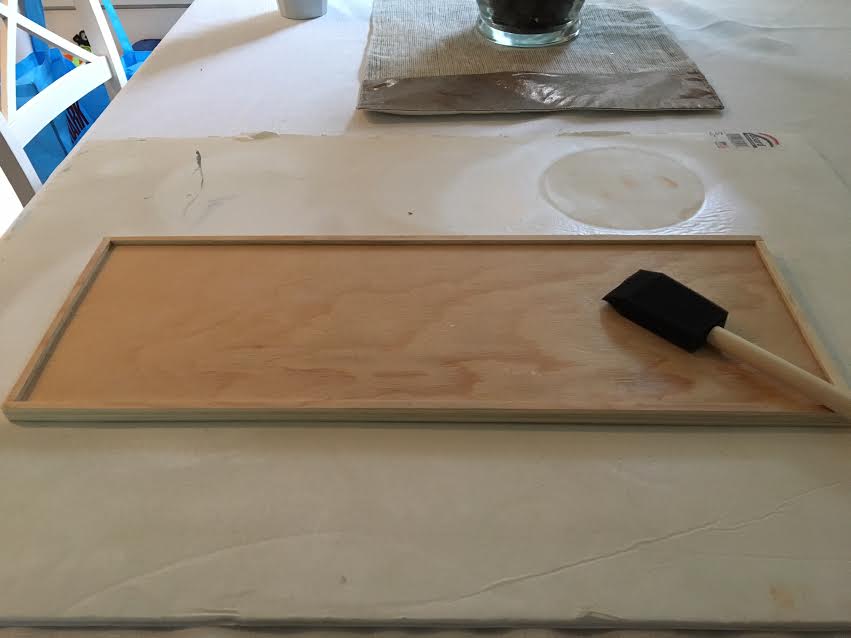
- 18×5 Wood Craft Blank
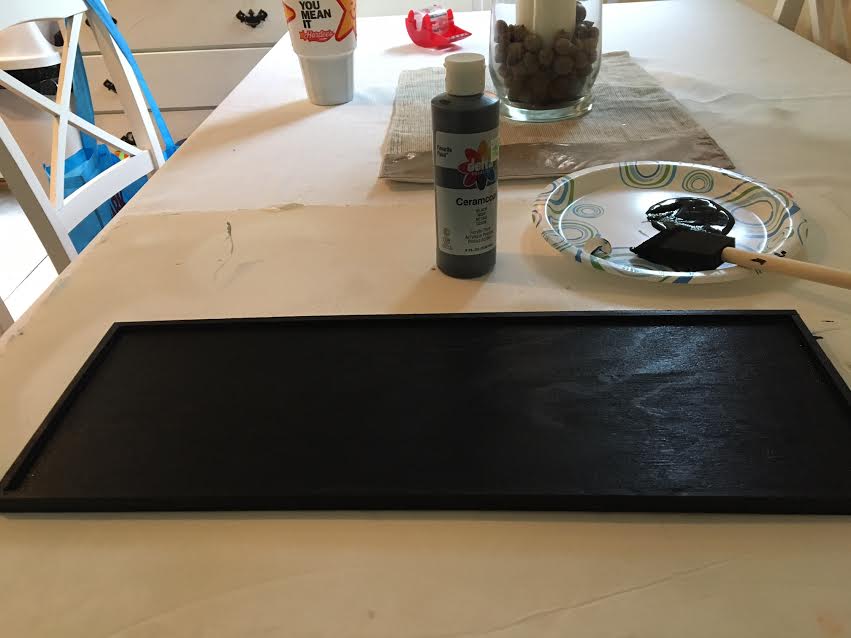
- Black Craft Paint
- White Craft Paint
- Foam Brushes
- Vaseline
- White Oracal 651 Craft Vinyl
- Transfer Tape
- Sand Paper
- Weeding Tool
- Old Credit Card or Giftcard
Step One: Paint your entire sign black with your black craft paint. Allow to dry.
Step Two: I wanted the border of my sign to be white so after the black paint was dry, I applied some vaseline on the corners and edges and painted the frame part of the wood white. The vaseline allows for easy distressing.
Once the white paint was dry I lightly sanded it so that you can see some of the black paint showing through, to give it a worn look. I also sanded the face of the board a bit. I want it to give the appearance of a chalkboard.
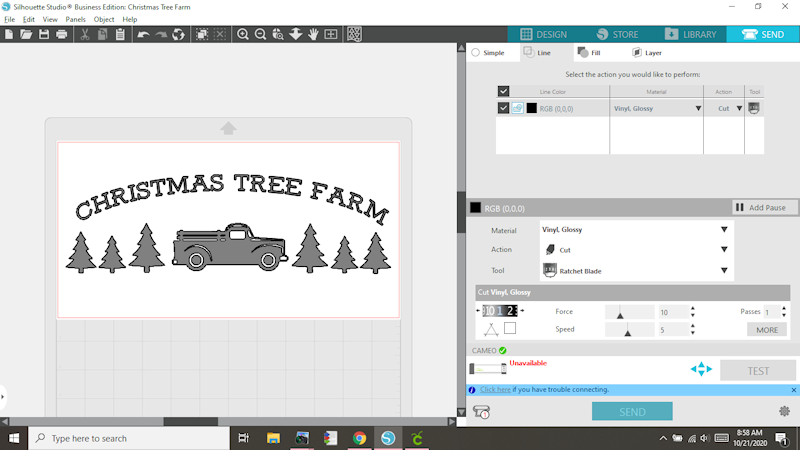
Step Three: Next I cut out my design using vinyl and my Silhouette Cameo. Make sure you make the proper blade and material adjustments.
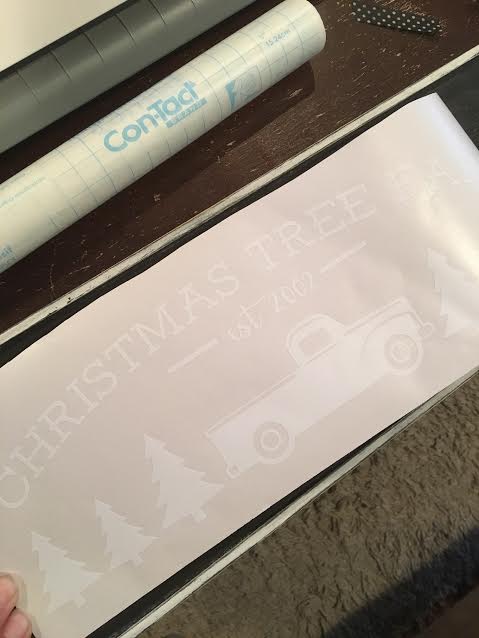
Step Four: Weed the excess vinyl that surrounds your cut lettering/design so that the only thing you have left on the carrier sheet is your design.
Step Five: Use your transfer tape (or clear contact paper in my case) to smooth it over your design. Take an old credit card or gift card and rub, rub, rub so that the transfer tape sticks to the design thoroughly.
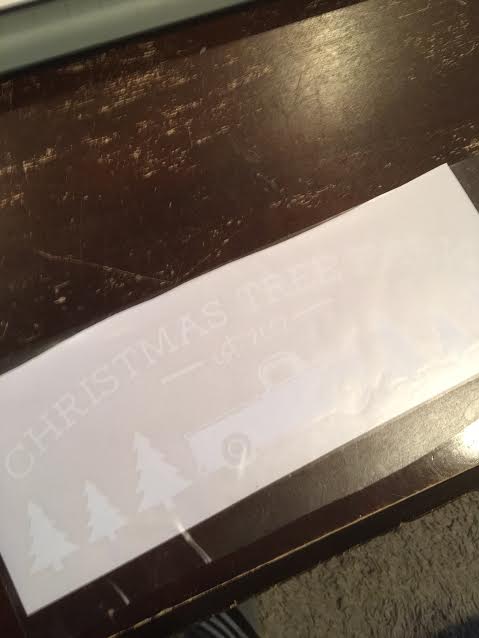
Step Six: Carefully peel the transfer tape back and your design should be stuck to it. If some of your letters are still stick to the vinyl carrier sheet, lay the transfer tape back down and rub again and then try to lift again. Sometimes it takes a few tries to grab the whole design.
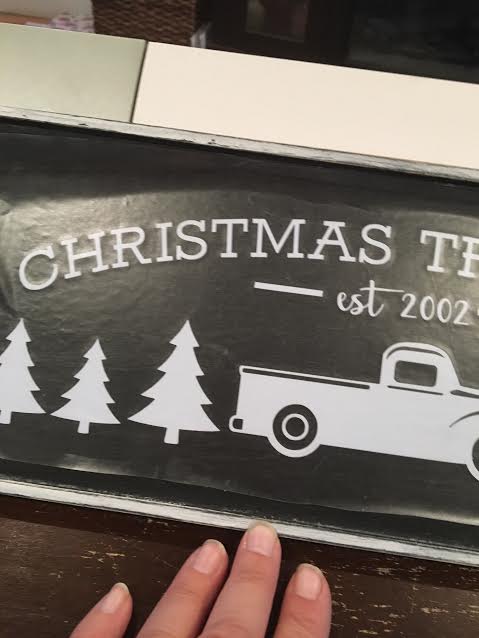
Step Seven: Place the transfer tape with the vinyl design onto the painted board and smooth the contact paper/design onto the board with the credit card again. Make sure to go over the design really well, especially on the edges of the design. Slowly peel the contact paper back and your design should remain on your painted board.
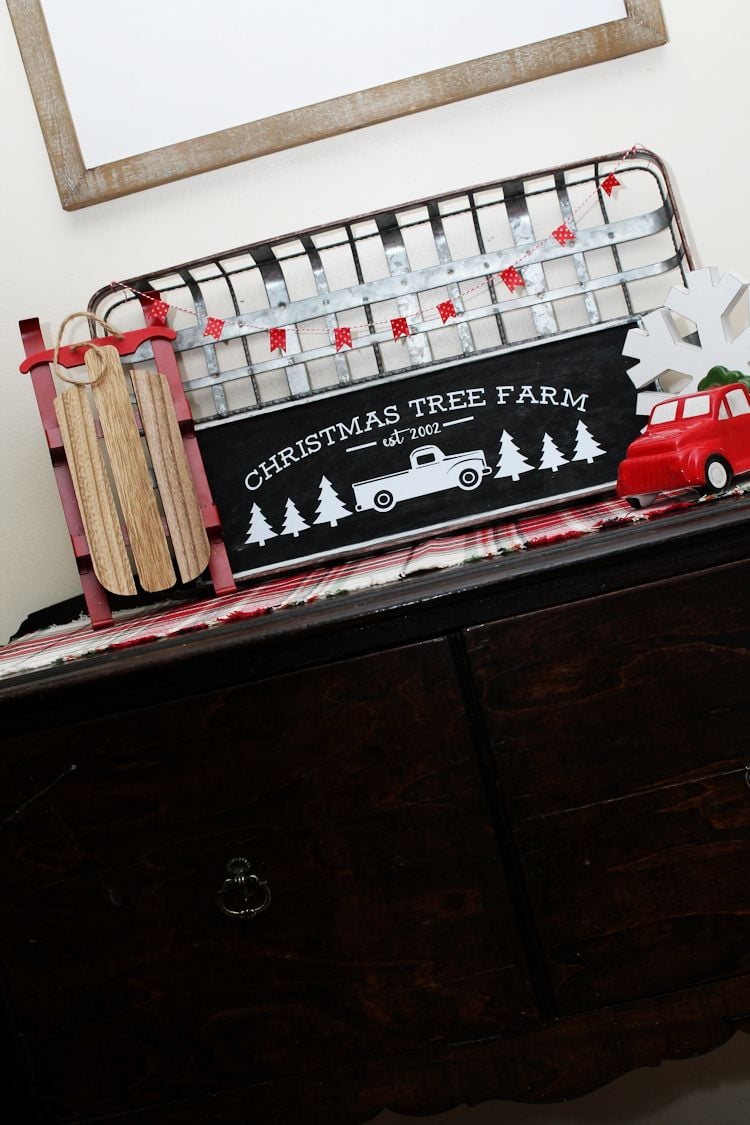
I absolutely adore how this came out. I put it on display in my living room and added a cute washi tape bunting above it just for fun. I tried to go with a rustic/farmhouse look with my Christmas decor this year and this little Christmas Tree Farm sign fits right in.
IMPORTANT INFO ON HOW TO GET MY FREE SVG
To download this FREE Christmas Tree Farm SVG simply complete the form below. ***Once you hit SUBSCRIBE your download will begin instantly.*** These designs are FREE for PERSONAL USE. Download includes the following files all zipped up in one download: SVG, DXF, PNG and JPG. You will need to extract the files and save them to your preferred location on your computer.
For more Silhouette projects, check out this collection of gift ideas using your Silhouette cutting machine!

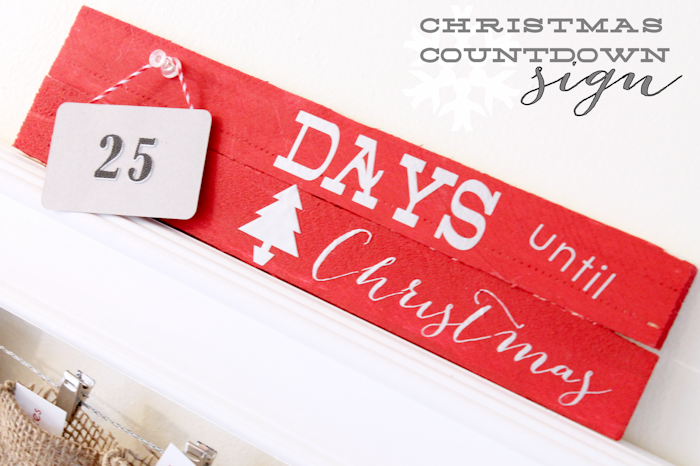
Simple Countdown to Christmas Sign
LOVE this & I just FINALLY got a Cricut – so I can make this! YAY!!! Thank you!
Thanks Gina!! I’ve heard such great things about the Cricut. Let me know how the SVG file works for you if you get around to making it. 🙂
Thank you so much! Can’t wait to use this next year!
You are very welcome! Happy New Year! XO
Love your project,did you add the border to your wood or did it come as pictured.what size is your finish piece
Thank you
I bought the wood as is from the craft store. I just painted it so the border stood out. I can’t remember off the top of my head but I think like 6×15? The wood may be about 18″ long but I think I created the design for about 15 inches. Hope that helps. 🙂
Is this file free for commercial use or personal use only?
Free for Commercial Use WITH credit back to http://www.thegirlcreative.com. If you don’t want to provide credit then you’ll need to purchase a commercial use license. Hope that helps. 🙂
Thank you so much for your generosity!
Love your designs
Thank you!!
Love your Christmas file!!! So cute!! Are we able to purchase a commercial use license?
Thank you so much, Donna! You can buy it here: https://www.thegirlcreative.com/product/single-product-commercial-use-license/
I’m so anxious to try your file. Everything is beautiful.
Thank you so much! XO
Ty Diana for such an awesome post, and the svg!! Silly question, Im new to power tools…what machine and blade did you use to cut your wood rounds please? Want to hear something ridiculously sad? I picked up a log of wood curbside, some trees were being cut down, and I’ve had those logs in the car/home for 8 months!! How sad is that! Any suggestions would be so appreciated! Ty so much!!
I saw a comment that said to sell commercially to add credit back to you or buy a license… I don’t have a business, just a retired crafter, but our church has a vendor/craft show coming up soon and I have several of your beautiful SVGs and would like to use them for the show. I would only be selling one, maybe two of each. My question is…how do I add credit back to you or how much is a license?
Thank you.
Where were you able to find the framed wood that size? I have looked at several craft stores, but haven’t found that size.
I believe I bought that at Michaels. This was a few years back but I think they still sell them.