These garden cupcakes are inspired by a book my kids gave me a couple of years ago, Hello! Cupcake. When I come up with an idea for a party or dessert, I like to search ideas online to gather inspiration and to make sure I’m not copying someone else’s idea. I like to give credit, where credit is due.

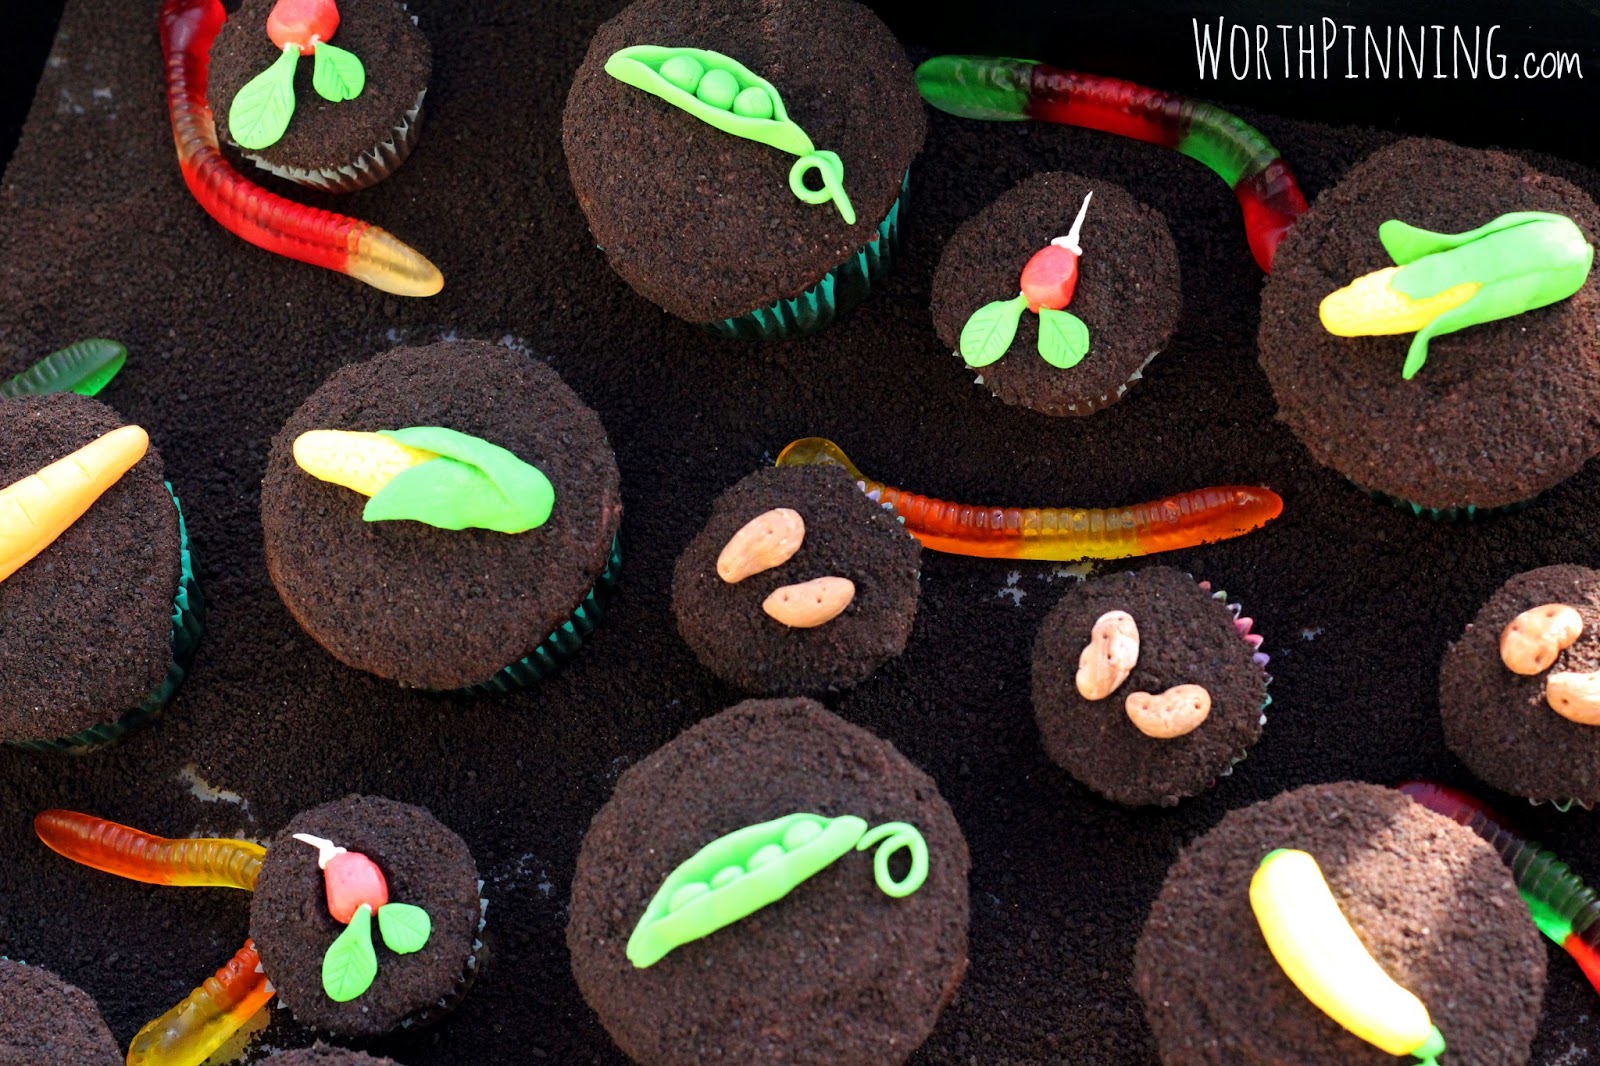
I wanted to make these cupcakes with as minimal supplies as possible, so I picked up a package of Starburst candies to use to shape the vegetables: orange=carrots, red= radishes, yellow=corn. In the process of shaping the corn, I thought the yellow looked a lot like a yellow squash, so I made a couple of yellow squash. I didn’t have any green candy, so I colored some gum paste with green food coloring for the corn husks, radish tops, carrot tops and peas.

I shaped the vegetables the night prior and baked the cupcakes the following day after work. The corn was scored with an Xacto for the kernel details. After frosting the cupcakes with chocolate frosting, dip the tops in ground Oreo cookies (remove the filling before grinding in a food processor).


There are so many fun options of styling this batch of cupcakes. I took the remaining ground Oreos and coated the bottom of a tray and then scattered a few gummy worms in the garden bed.

Place the cupcakes. You’ll see the mini-cupakes mixed in with the regular sized cupcakes. The minis are topped with Starburst radishes. The tip of the radish has a little vanilla frosting piped and stringing down, so it looks like it was just plucked from the ground. The greens are gum paste. If you don’t have gum paste, think of other green pliable candies like taffy. I needed one more dirt vegetable, so I made several potatoes out of gum paste. You could also use Tootsie Rolls (chocolate & vanilla kneaded together for a lighter brown).

What do vegetables need to grow? Sunlight and water! I printed a “grow” label to replace the regular water brand label.


Party Tip: When planning desserts for your gathering, think about making a smaller size portion; in this instance, mini-cupcakes. I like my desserts to be tasted, so rather than your guests skipping over dessert because they don’t want to “waste” the whole thing for just a bite, or having them ask for just a “sliver” if you’ve already plated the dessert, a mini portion is perfect. The mini-sized treats tend to disappear quickly. It’s like they don’t come with calories in those small portions.