


Cutting Machine Crafts
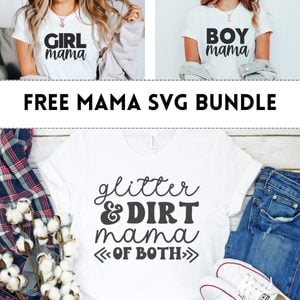
Grab FREE SVG cut files COLLECTIONS by THEME and follow simple tutorials for Silhouette and Cricut.


Recent Printables


Holiday Ideas
Enjoy free cut files, printables, craft ideas and recipes for all of your favorite holidays


Meet the author
Welcome! I’m Diana!
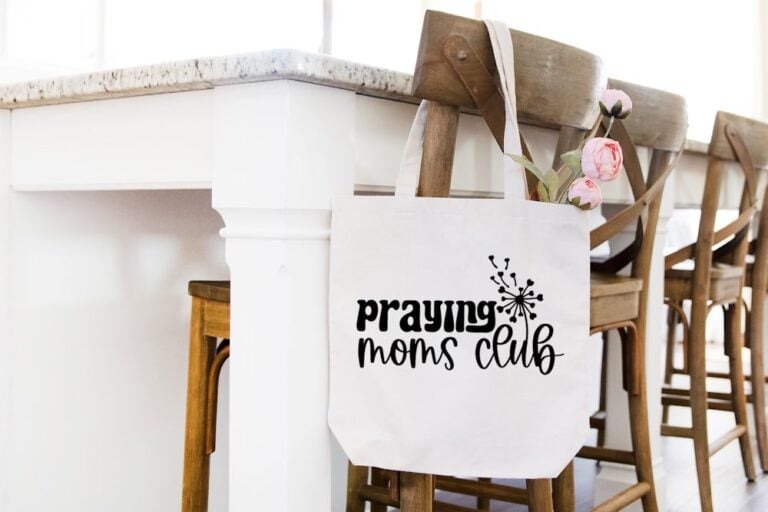
I’m a Jesus lovin’ mom from NY who loves to design FREE cut files for all of your Silhouette Cameo and Cricut Crafting needs. Be sure to join our community for exclusive subscriber perks and prayers for your needs.
Browse by Holiday:
FREE CRICUT DESIGNS
Check out this list of amazing sites that offer FREE Cricut Designs as well as many tutorials to get you going on your crafting journey.
Visit our Shop
Browse our collection of SVG Cut Files for Silhouette and Cricut. Designs for everyday use plus special occasions makes for a nice assortment to choose from.
For COMMERCIAL USE cut files, visit our ETSY Shop.

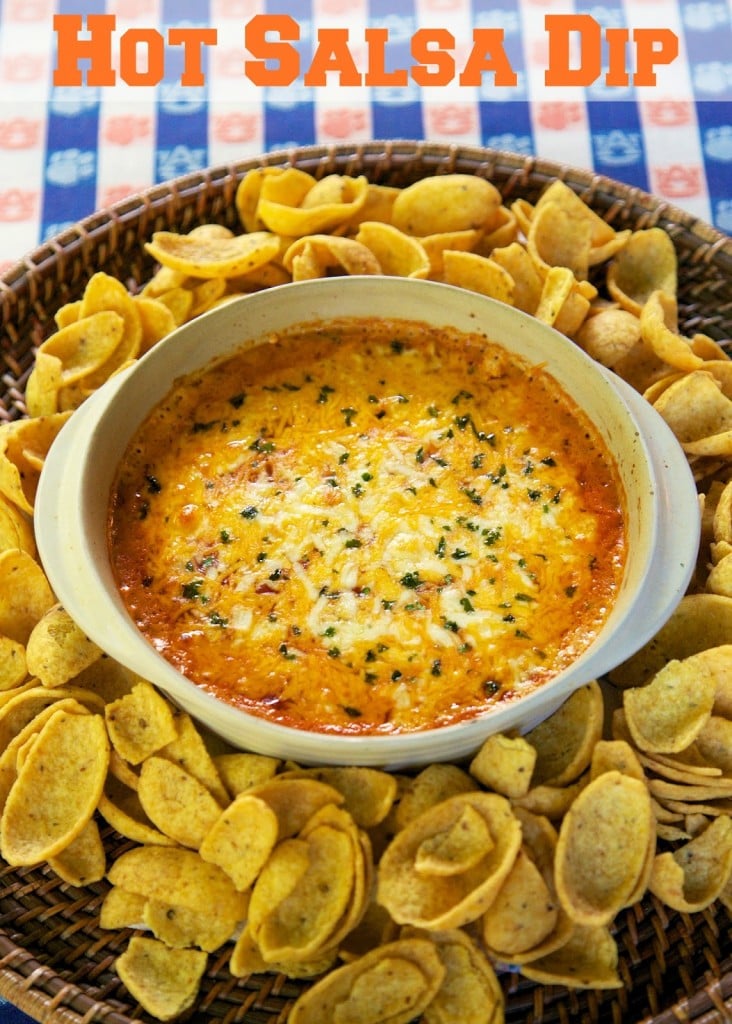
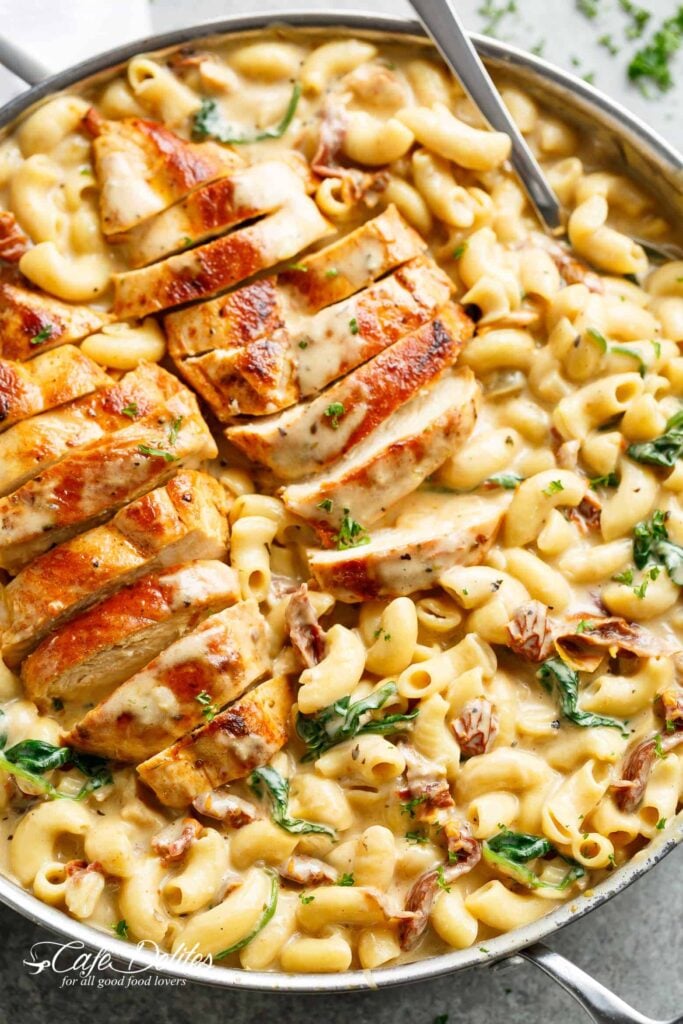
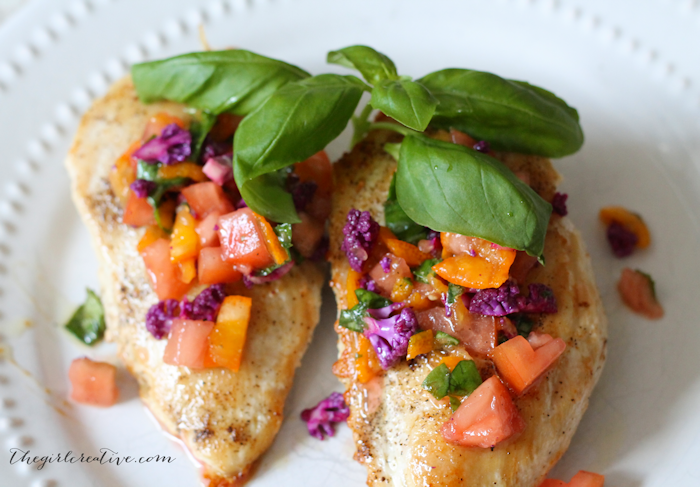
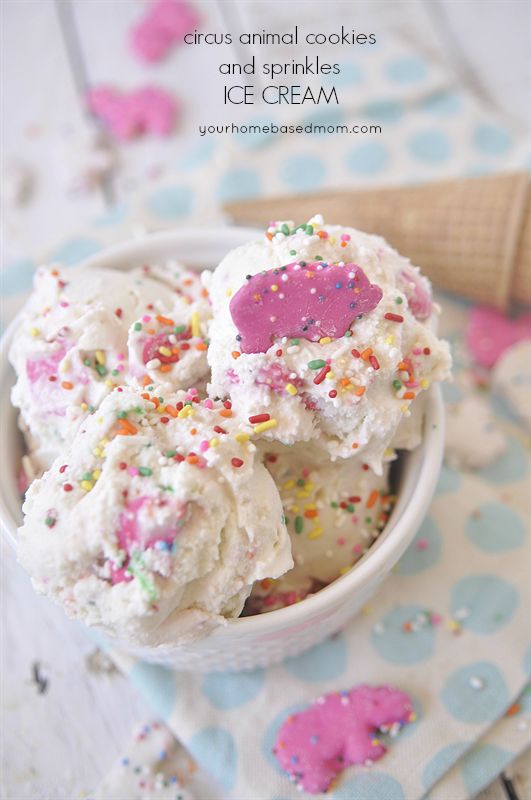
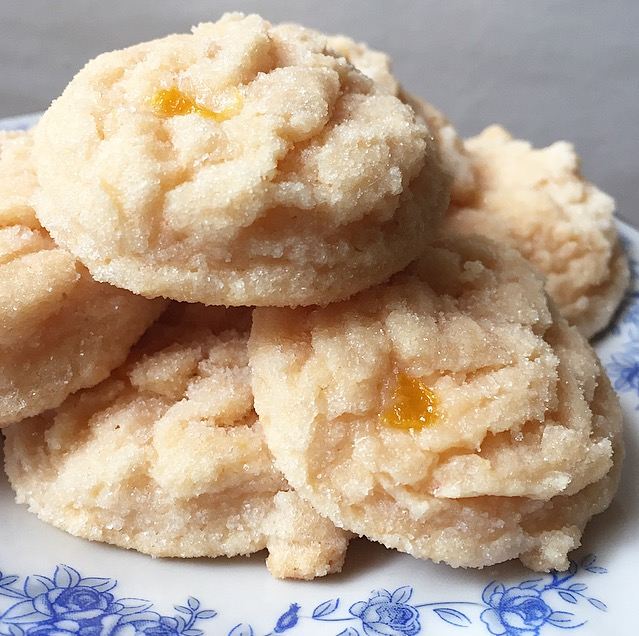
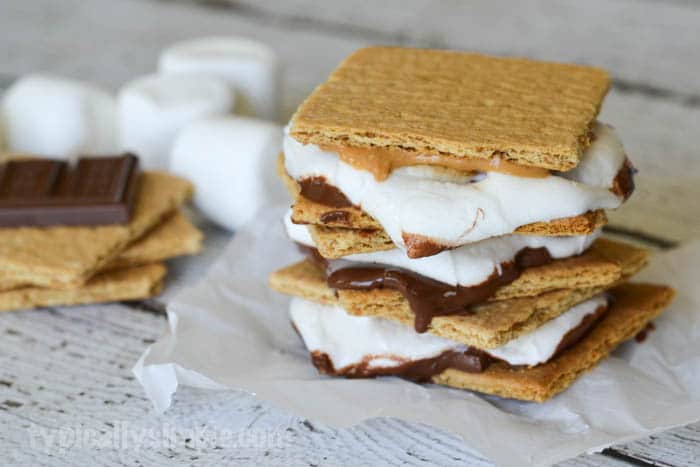
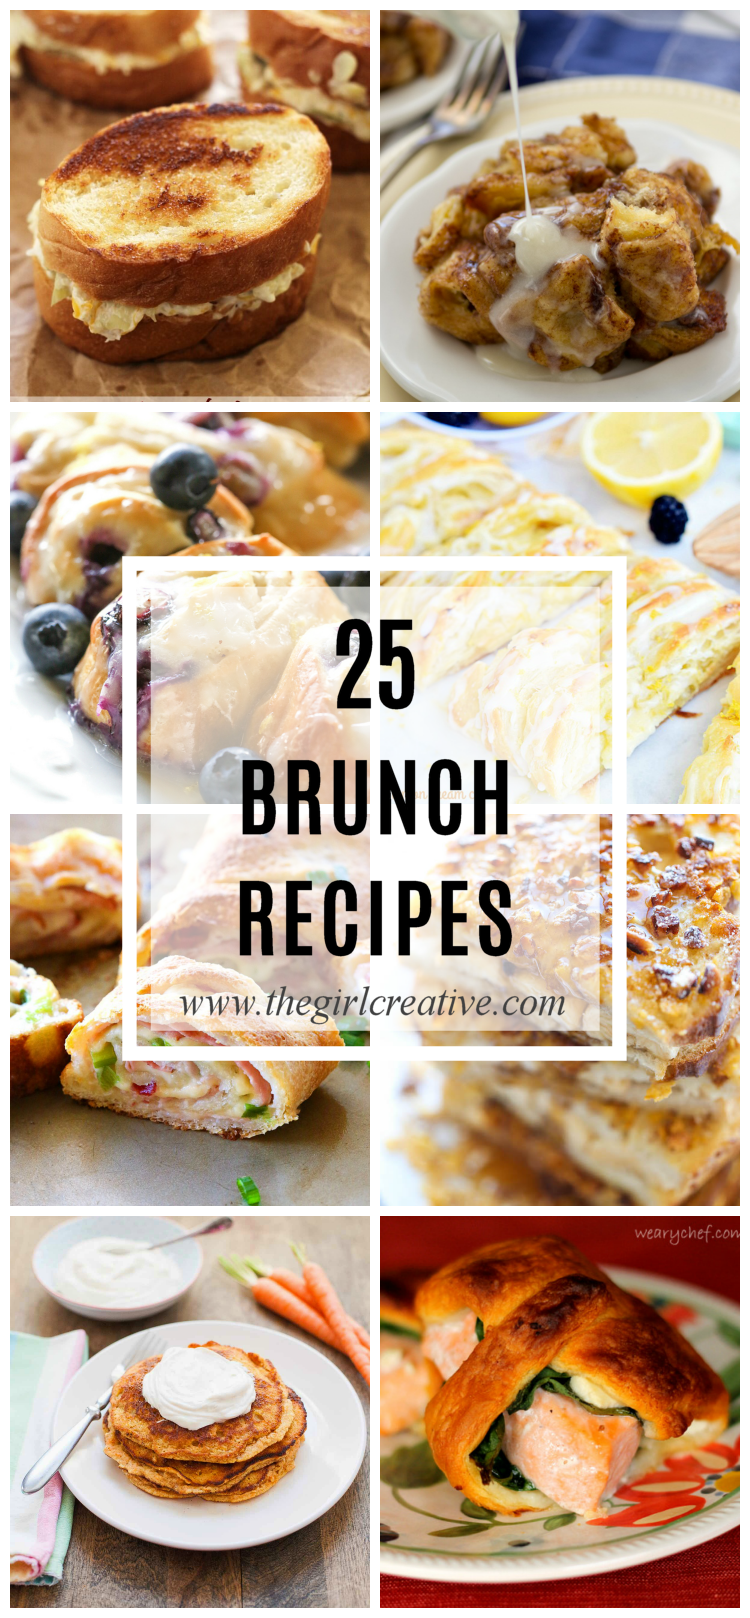
Our Favorite Recipe Collections
From busy moms to retired empty nesters, everyone enjoys a nice homemade meal (or treat) to fill their belly. Here are our favorites!