Painted Candlestick Makeover
Hey hey! It’s Erica from For the Love of Decorating and I’m here to show you another thrifty home decor idea this month.

My mom has been wanting to do some updates in her decor for a while but her budget is just around ZERO DOLLARS and ZERO CENTS. So of course she called on me to help her out. Boy, this is gonna be a tough one!
I figured the best place to start was with spray paint and some accessories she already had. If you have ever read my blog, you know that I am big on updating what you have around the house with spray paint. You can go here to see some of the transformations I’ve made 🙂
I immediately knew I was going to change these candles and candlesticks first. I have been dying to get my hands on them!
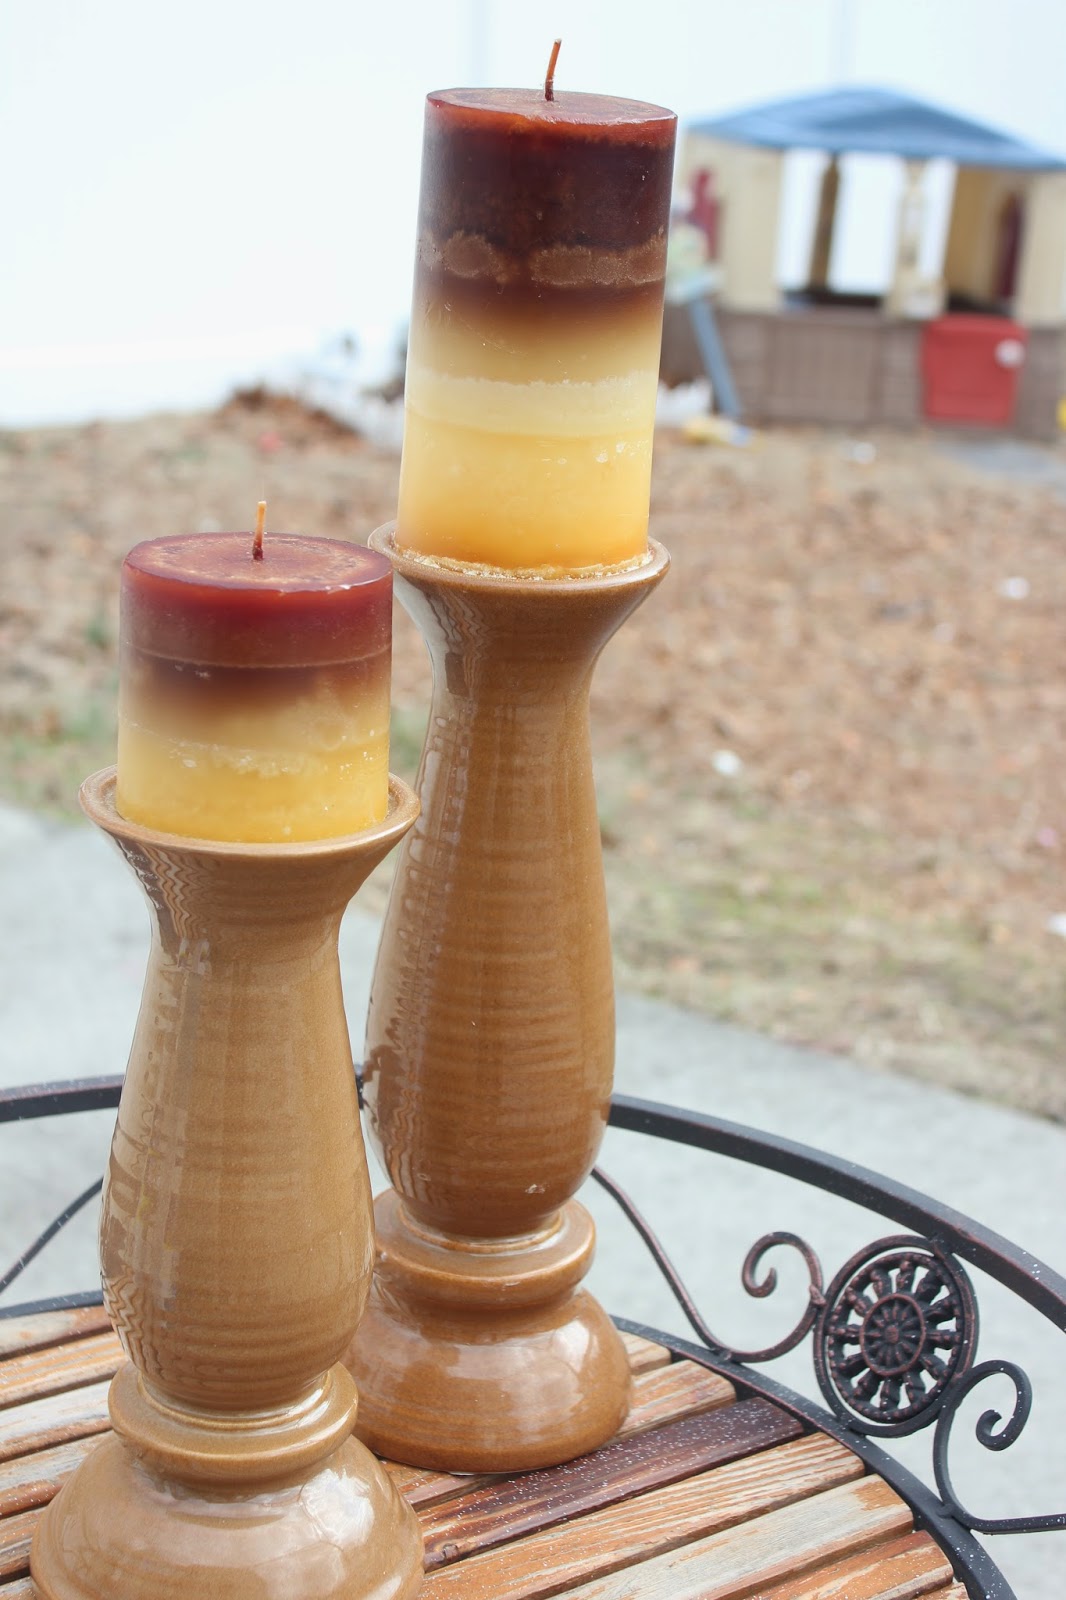
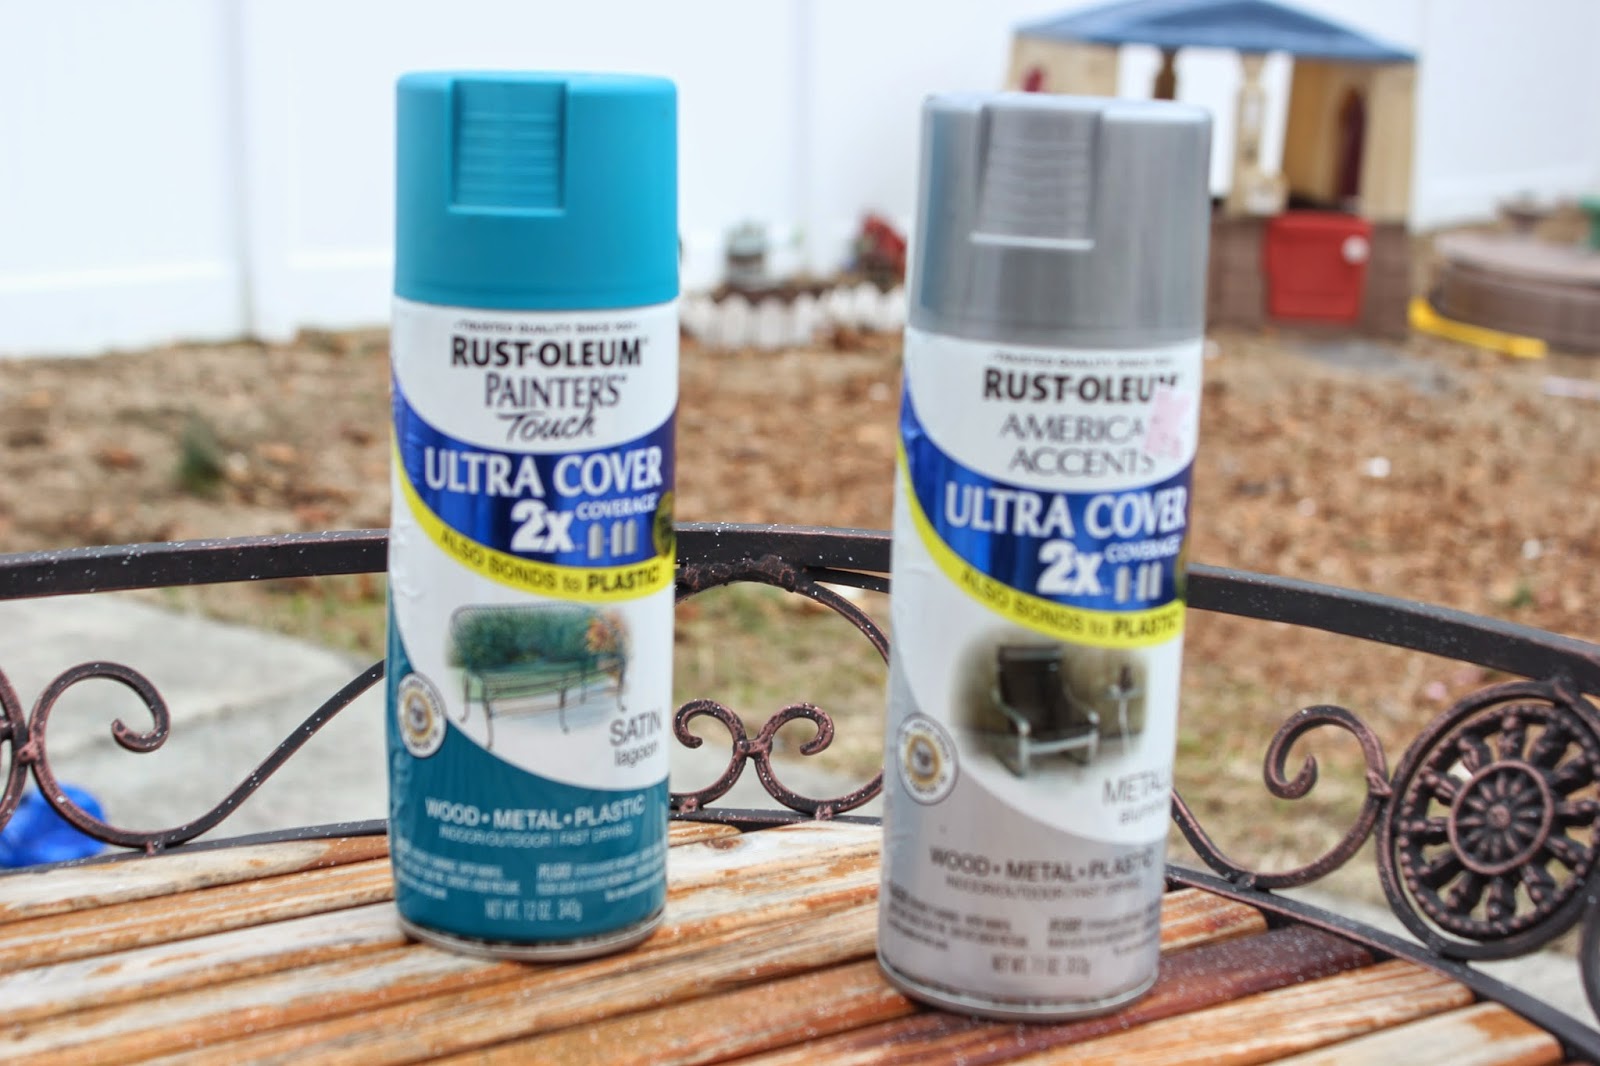
My mom has been wanting to add some turquoise to her decor. I decided to use these 2 colors of spray paint from my stash. The candlesticks got Lagoon in a satin finish and the candles are sprayed in Aluminum.
I started with the candles. They each got 2 coats.
That one candle…yea…stuck onto the the holder. Like, “couldn’t pry if off with a crowbar” stuck! But I didn’t let that stop me. I just taped it off before I sprayed the candlestick.
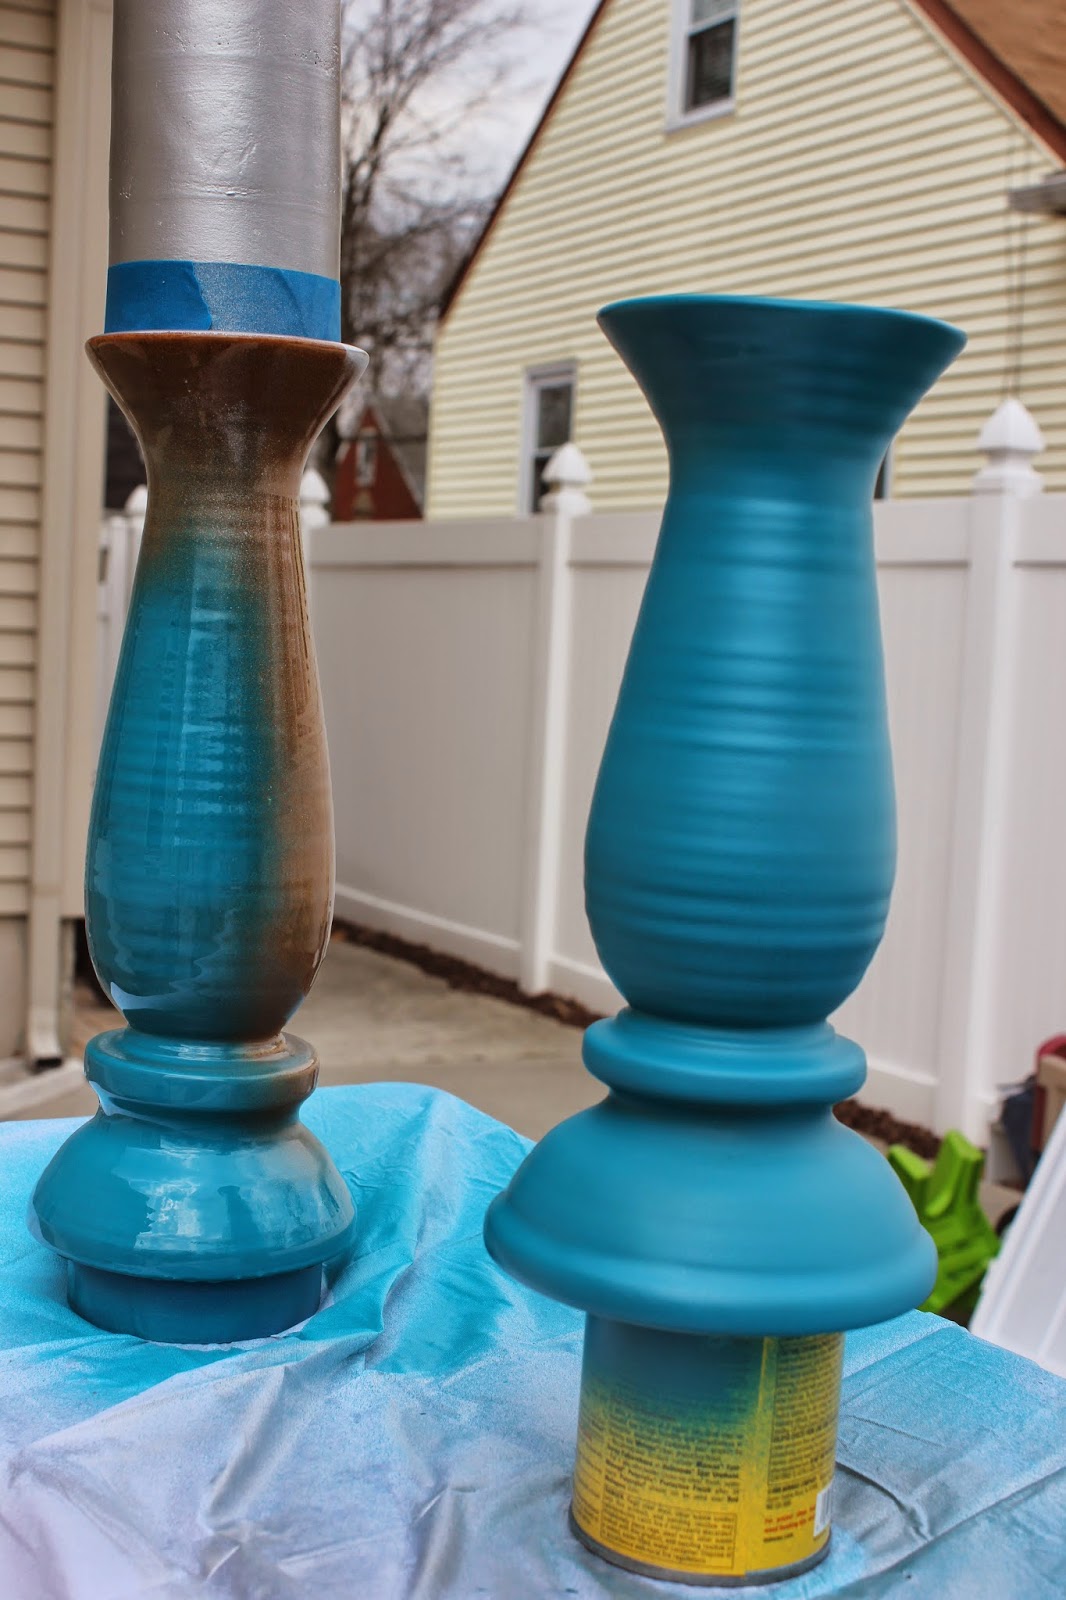
I propped the candlesticks up so that I could get to the bottom without having to wait for them to dry and flip them over. You can see how the glossy finish looked more like a matte when it dried.
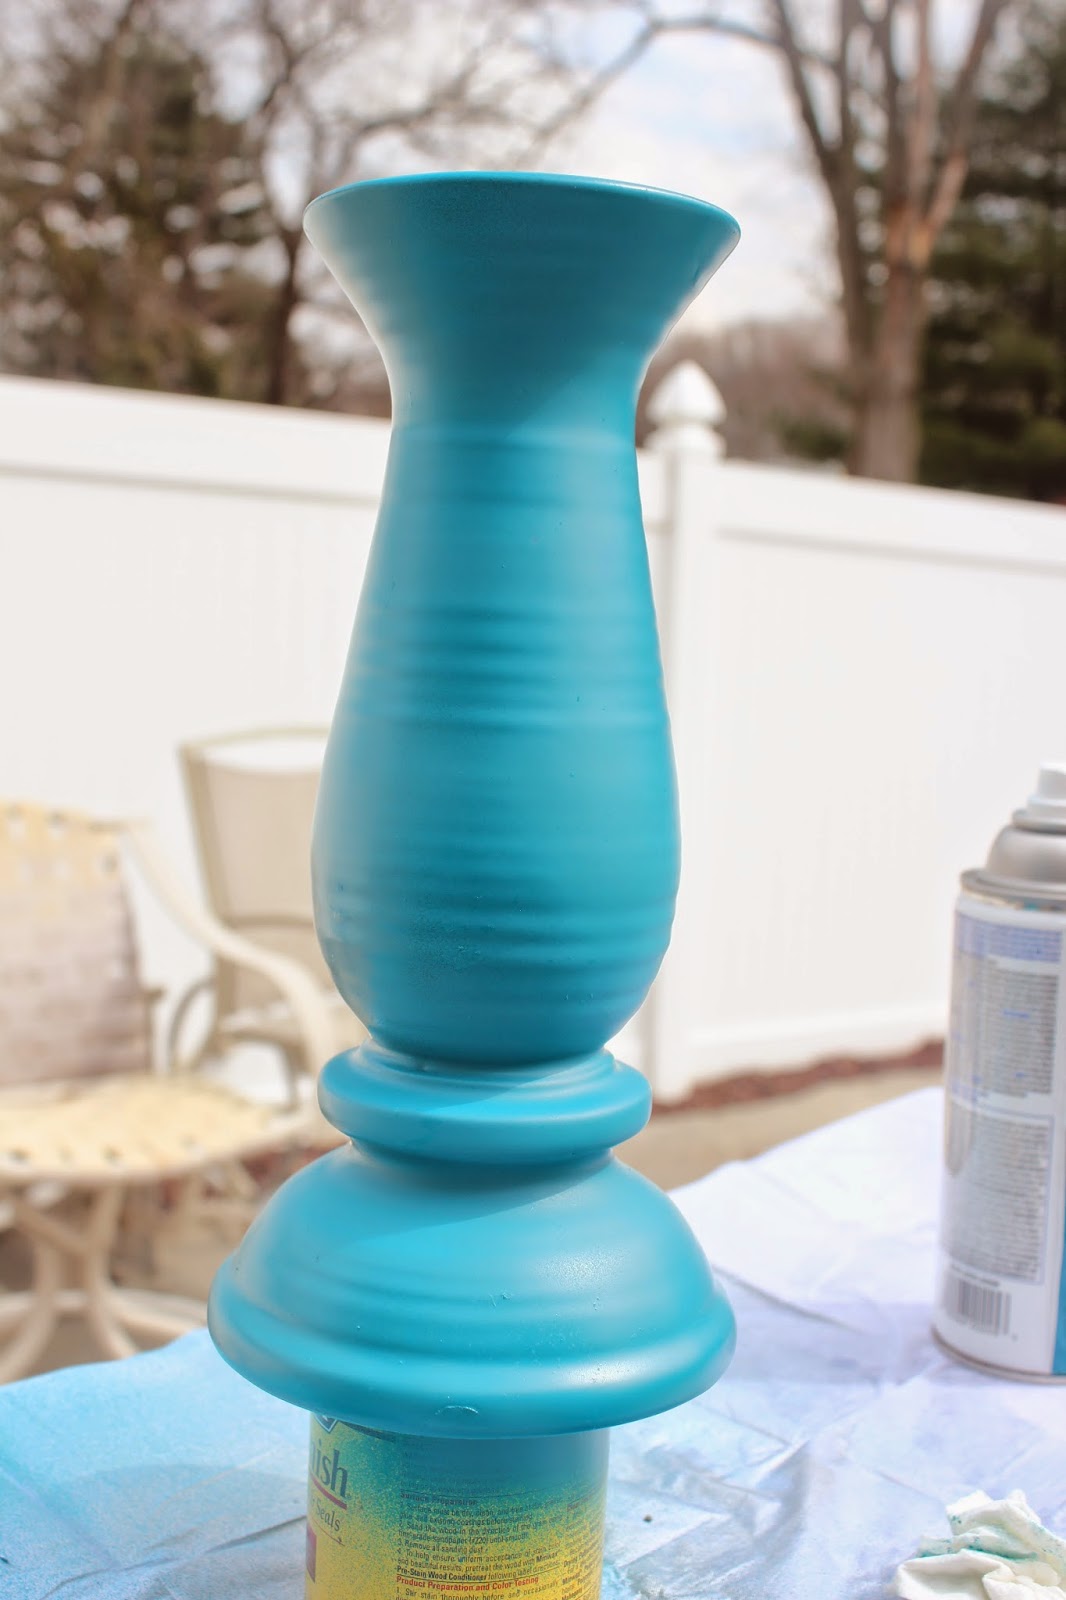
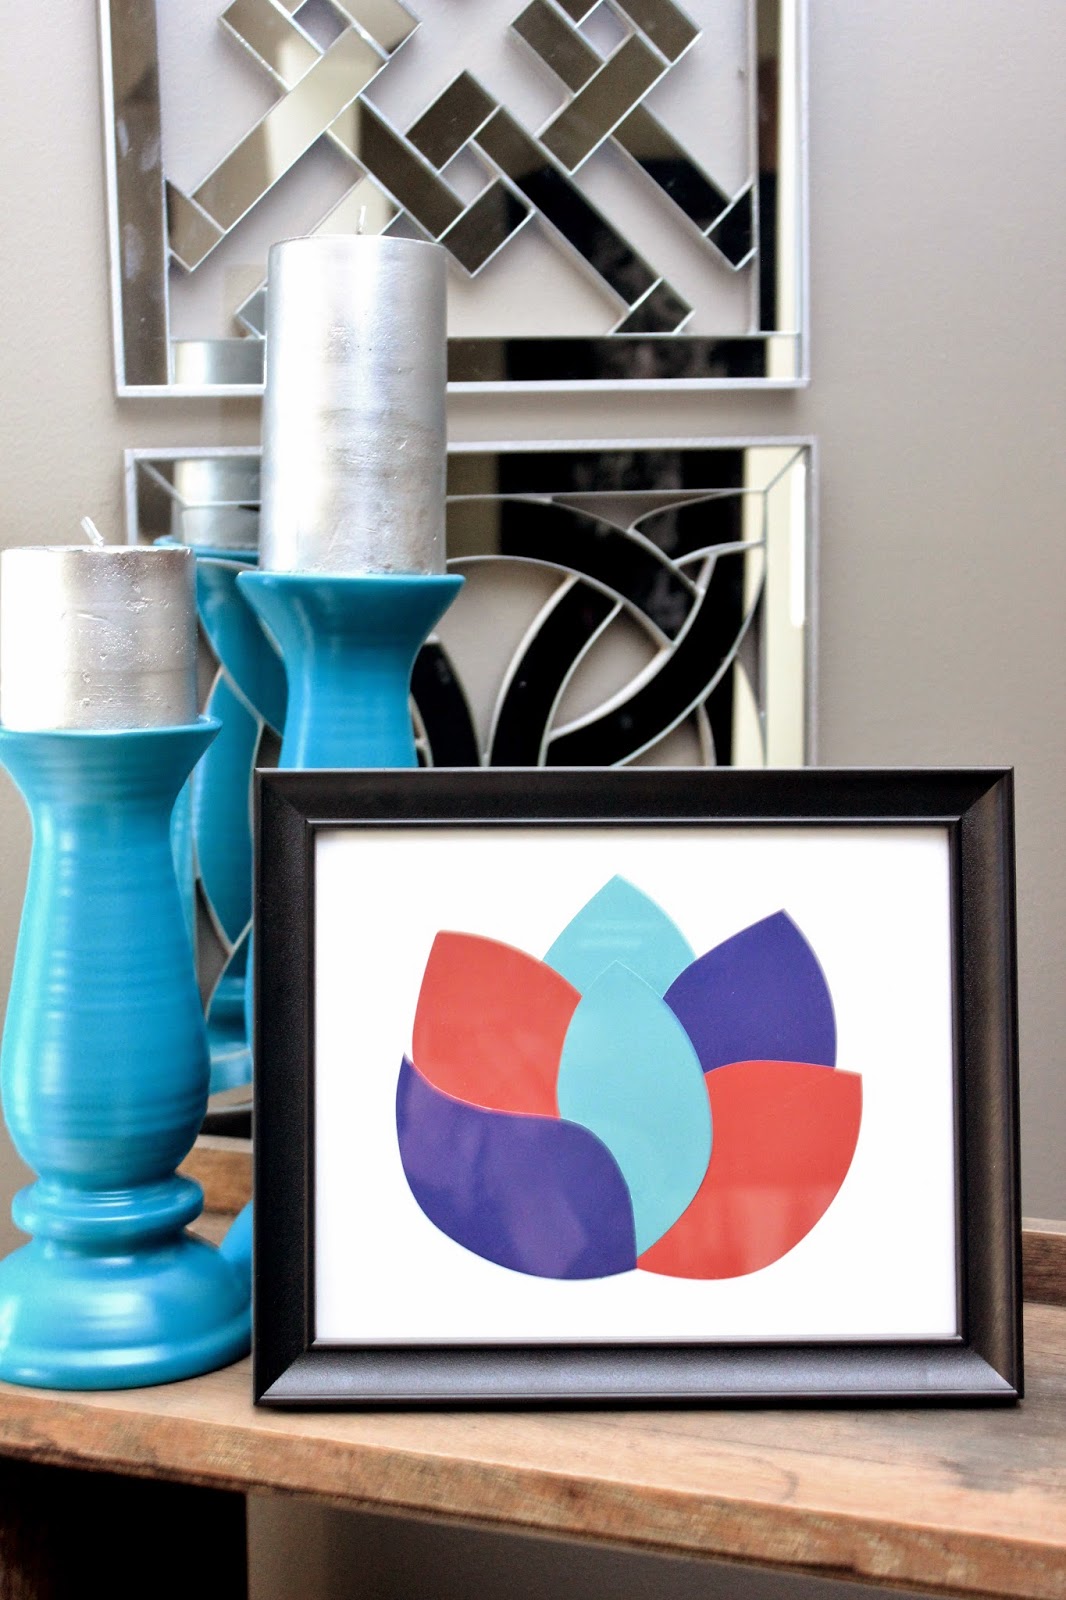
I decided to add a clear gloss coat (also Rutoleum) to the candlesticks and I think they turned out beautifully!

Clearly, I wouldn’t suggest burning the candles once they have been spray painted 😉
Also, the candles are very susceptible to knicks and scratches which will reveal the color underneath. But my mom doesn’t have any little kids running around her place and they aren’t in an area where they’ll moved around at all so they will do just fine for her.