
Easter Ruffle Quilt
Let Springtime begin!!! With Easter fast approaching and the temperatures finally starting to rise, I have been engulfed in little girl’s Spring wardrobes (as you saw with Sienna’s Spring Collection, and now Madeline’s and soon to be Chloe’s)! I wanted to mix it up a bit this week and throw in a quilt, even the best of us need a break from constant dress making – lol.
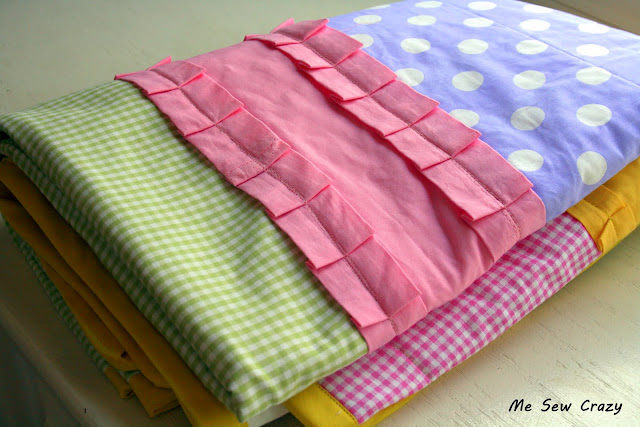
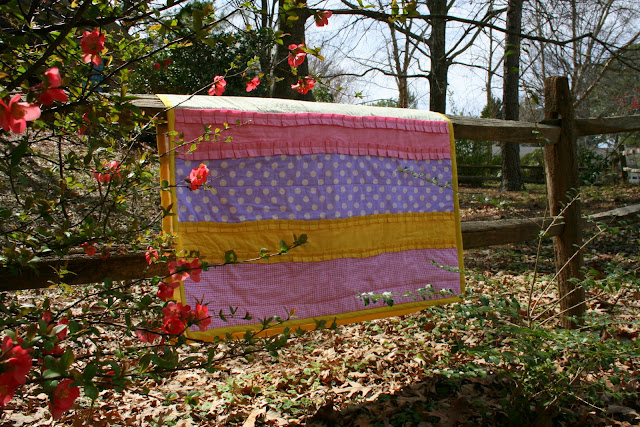
This blanket actually started as a gift for a little baby girl, but when it was finished…it just reminded me of an Easter Egg! Lol. So, the Easter Ruffle Quilt it is :).
For an approximate finish size of 40″ x 60″, you will need:
- ¼ yd of pattern fabric
- ¼ yd of pattern fabric
- ¼ yd of pattern fabric
- ¼ yd of pattern fabric
- ¼ yd of pattern fabric
- 16” x 44” cut of solid fabric
- 16” x 44” cut of solid fabric
- 16” x 44” cut of solid fabric
- 16” x 44” cut of solid fabric
- Binding
- Quilt Batting
- Coordinating Thread
- 1.75 yd of backing
Let’s Get Cutting:
Taking each of your 16” cuts of solid fabric, cut as follows:
(1) 4.5” strip
(4) 3” strips – these will become the ruffles
Let’s Get Assembling:
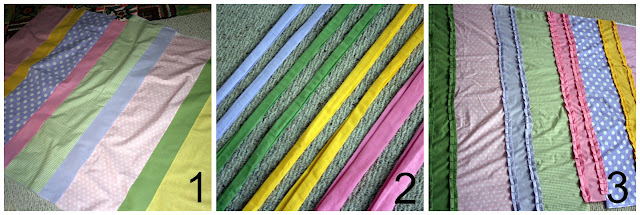
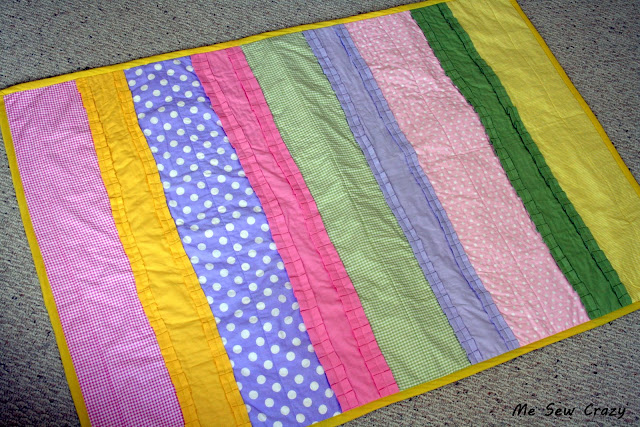
1. Laying all of your fabric out on the floor, place ¼ yd pieces of pattern fabric and 4.5” strips of solid fabric, alternating, into a design you like. Once you have figured out the layout you would like, with right sides together, sew straight lines attaching all strips together. You will have the base for the top of your quilt once done. Press open all seams.
2. Take (2) of the 3” ruffle strips and sew right sides together at ONE of the short ends, giving you a 3” x 88” piece of fabric. Fold in half lengthwise, right sides together, and sew along outer raw edge. Turn tube right side out, and Press so the seam is in the middle of the back. Repeat for remaining pieces of ruffle fabric.
3. Sew a line of gathering stitches down the center of each ruffle strip, and gather stitches until they are the size of the width of your quilt (approx. 44”). Pin in place, over each seam. Stitch down the middle to secure in place. (Notice something funny in my picture? Not ruffles – right? Pleats, I couldn’t get my darn ruffler to work right – but you can do this either way! I think ruffles would look better!!!)
Once the top is completed, you can finish the quilt as you would any quilt. But a brief overview: Pin, or iron, on batting to attach to the top of quilt. Repeat for the bottom of the quilt (backing). Quilt the blanket as desired, I kept it simple and sewed straight lines down the entire quilt, including over each ruffle again. Cut all 4 sides of quilt using a ruler to ensure straight and even edges. Attach binding to complete.
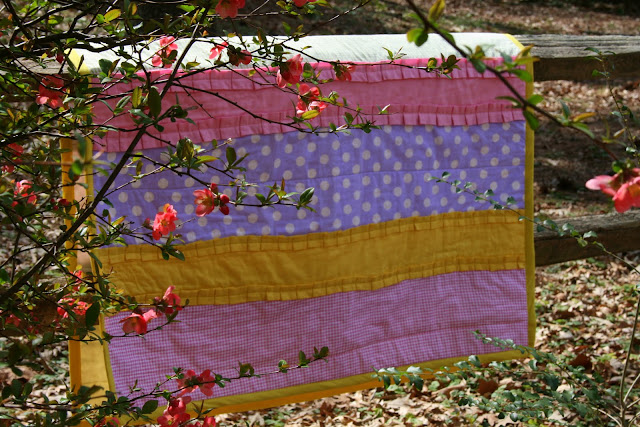
So it may not be the perfect baby blanket this time around, but it is definitely the perfect Easter gift…
Want a sneak peak at what I have for you over the next couple of weeks??? Click HERE for Madeline’s Spring Collection!
Thanks so much for stopping by Me Sew Crazy’s Tuesday at The Girl Creative! And until next week…
…Happy Sewing!
- Baby Related Businesses to sponsor Reviews and Giveaways
- Guest Bloggers who would like to contribute posts related to Baby Showers whether it’s decor, favor ideas, themes, etc.
- Most embarrassing Mommy Moment Stories
- Baby Shower Game Printables


XOXO
Diana
www.thegirlcreative.com
That is so adorable, Jessica!! Thanks for sharing with everyone. 🙂 xoxo
I love this quilt! It is awesome and so feminine.
Saw u at the linky! This is so cute.
I love your quilt! It has so much fun creative character to it! Love it when a quilt doesn’t look quite as traditional as expected! 🙂
I LOVE this quilt! Quilting is something I definitely want to start doing!
http://www.ladybug-blessings.com
Sweet quilt. The stripes do remind me of an Easter egg. Your ruffles are a nice added touch!
Hey, we think your crafty tutorial is awesome, and we want to share it with other sewers and quilters by featuring a link on http://www.WeAllSew.com! We’ll be featuring this project at our “Free Stuff” page all next week. Please let me know if you have any questions about being featured at WeAllSew.com. Thanks so much-Erika
I used your instructions for the blanket I made for my daughter on the way. So happy with how it turned out! You can see pictures here:
http://sleepsewcrochetrepeat.blogspot.com/2011/06/only-gift-is-portion-of-thyself-ralph.html
How pretty ,love the ruffles!!