{Blogging Tip # 2 – How to Add a Menu Bar – Part ONE}
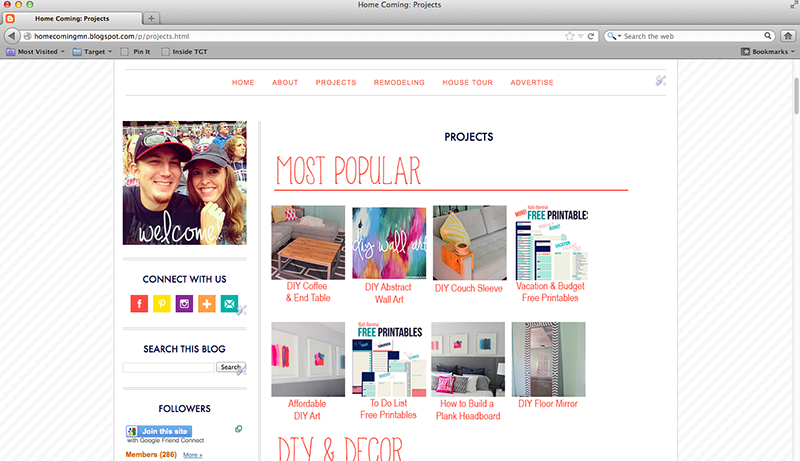
Since I am no longer doing blog design, I want to share this little tutorial on how to add a menu bar (and a few additional widgets – or gadgets they’re now called) to your Blogger layout. If you want your layout to look like the image below (circled items are the ones that will be added to your existing layout), follow these easy steps.
 Login into your Blogger account.
Click on the Layout tab.
Click on Edit HTML
Press Ctrl+F to open up the “Find” box
Type showaddelement (all one word)
You will see something like this:

**ONLY WHERE IT FOLLOWS showaddelement. There should be about 3 places that you are going to change it from ‘no’ to ‘yes’. You will probably have to scroll down a tiny bit to change all of them.
Click Save Template
You are done! You are now able to add a widget above your blog posts, under your blog heading (or above it).
If you benefited from this tutorial, just leave me a comment. 🙂
XOXO
Diana
www.thegirlcreative.com


Is there a specifit widget for the menu links? How do you organize everything so when you click on the link, it shows your freebies, blog tips, etc.? Can you tell I’m totally blog-illiterate? 🙂
Once you follow these instruction, you will just add an HTML gadget in the space under the blog header. Are you familiar with any photo editing software like photoshop or paint shop pro or even paint.net? That is where you make the graphics (home, about, freebies, etc.)
Thank you so much for sharing this. I’m in the process of updating my blog and this is something I wanted to add. I just want to make sure I’m understanding… so I need to find a html gadget where I’ll connect a graphic I create in photoshop? I’m new to blogging and know very little about html. I do have elements and I’ve been working on a new header, so I’d love to add this on too. Thanks for your help!
Thanks a lot for this tutorial!! It was a lot of help and VERY easy to follow!!
OK, I think I need a little help too. Do I need to create a new page or something to link the cute graphic to? How do I do that? This is sort of like creating a website with different pages, right? The links go to separate pages? I didn’t see the instructions for creating the content that would be linked to the graphics. Thanks so much for your help!
Anna
Hi I just found you and am going to TRY this too this weekend. Wanted something like this for a while. Just have to think on WHAT to link to, lol.
Hugs from the Netherlands
My “find box” is saying that the showaddelement text is not in my blog!
HELP!!
Hmmm, i’m not sure what’s going on with your blog. I took a look myself and it was doing the same thing to me. 🙁 I noticed that you had some custom fonts going on in your sidebars and blog post titles and I can only think that maybe that has something to do with it?? That is just a wild guess. 🙁 Wish I could be more helpful!!
This is a valuable tip, and you are awesome! I asked another blogger this question, and came the reply ‘I’m busy’. And here you are, giving tips on blogging and crafts, all of them useful!! Bless you!
I never did see the words “Yes” and “No”.
Oh my gosh, if I could reach through the computer I’d kiss you! I’m pretty decent when doing our blog, but I have been DYING to figure this one out! THANKS!!
thank you soooooo much! i got rid of my website and was just going to go all blog because it’s free! woo! and i was wanting a menu bar! so for photography i want to put prices, home, what you get etc… how do i get my pages for those once you push the buttons? i am new to the changing your blog thing! thanks again!!!
Check out Adding a Menu Bar – Part Two – it talks about how to link pages to your buttons. If you still need help, send me an email. 🙂
I just did part one it was SUPER easy! Hoping that part two is easy to follow also! Thanks so much for the great info!
Thank you so much for taking the time to show everyone this step by step process, you are amazing! I have a quick question, I’ve recently noticed that even though my settings say show 15 posts on first page of blog, only like 4 are showing and you have to click older posts. It just recently happened after Easter weekend. Since you are so blog savy, I was hoping you knew how I could fix this. Thanks again!
Once again, perfect instructions, perfect tutorial! Thank you – check it out:
http://cleanmama.blogspot.com/
I am intrested in your help in designing a blog but can’t get my computer to let me email you. My adderess in genag307@yahoo.com. Can you shoot me an email?
Thanks!
Bless you, Dear girl! It took this ole brain a while but I finally figured it out. Now to suss out how to add those cute little buttons to encase my links.
SneakyMomma sent me by way of her blog – http://sneakymommablogdesign.blogspot.com/2009/01/downloading-your-template.html
I know this post is ages old but saw where you’re taking 2010 summer off to spend on your husband and family. GOOD FOR YOU! You’re getting your priorities straight and God will bless you for it!
BTW, my Farm Maven blog is my new blog to help farmers and small business owners increase their income. My farm blog is
thistlecovefarm.blogspot.com; come for a visit sometime.
Thanks again…and again…
Thanks so much for this tip. I figured out how to add the gadget above my post section, but cannot figure out how to reconfigure my pages horizontally rather than vertically. Going to see if you have any other posts related.
Alison
Hello, I can’t seem to find the “Part 2” – I just don’t want to get started on this if I can’t finish it. Thanks so much!!
To find the next part of the tutorial, click on Blogging Tips in the Labels section of the post.
It will take you to all the tips! Very cool!
I’ve looked for part 2 but am unable to find it. Can U help>
Here is the link to part two. 🙂
http://www.thegirlcreative.com/2009/11/blogging-tip-3-adding-menu-bar-part-two.html
Thanks for this post. I have a Mac and the ctl pluss F step does not work. A find box does not pop up and I don’t know how to find it otherwise… hmm. maybe I need to discover a different way to create a menu bar? Any ideas?
that worked great! Thanks I was so afraid it would be hard!! I appreciate your help
Thanks a ton!!!
I’ve been trying to do this for a while and always got mixed instructions! Thanks for the helpful tips!
I am so excited to find this tutorial ~ when I press Cntrl+F nothing happens ~
Do you have any suggestions ?
thank you !
same with me. can someone please tell me how you figured this out? thank you 🙂
http://www.herbakingplace.blogspot.com
Tick! Thanks so much. Now to work out how to make the actual Menu Bar… Off to the next part!
I’m you newest folloer via GFC. I’m Kassandra from Coffee and their Kisses. Thanks so much! I’ve been trying to figure out how to do this!
I so appreciate this – thank you!!
thanks. but my menu isn’t as nice as i expected. why?
Thank you so much! I have been looking for a way to do this. Continuing on to your next tip- Part 2! Thanks again.
Thanks for this great tutorial! I do have a question, though. Even after following the directions, I still do not see a gadget for a menu above the blog title. DO you know what I may have done wrong?
Melanie
bearrabbitbear.blogspot.com
bearrabbitbear@hotail.com
Thank you so much for this tutorial! I did have to tweak it a little and after seeing the comment above mine I thought I’d share.
On the second “showaddelement” I had to also change the locked=’true’ to ‘locked=’false’.
Yay, now I have a gadget above my header!
This was perfect! Thank you SO much! I am new to blogging and am slowly learning html and all and this has helped. Thank you!
Thank you so much for sharing…now I can put google translate on my site on the top right where everyone can see!
im new to this and when i press the ctrl + f nothing happens. how do I use those keys to get the find box?? please help
http://www.herbakingplace.blogspot.com
Thank you so much! I got it to work, but can’t get my little icons to line up going straight across. Can you help?
Thanks,
Cynthia
cvautrot@gilmerschools.com
i did exactly what u said and nothing happened 🙁
oh i got it thanksss 😛
Oh my, this is the simplest tutorial out there, and I’ve been looking for weeks. Thank you so much!
http://sunshineandstovetops.blogspot.com/
Thank you so much! This was very easy to follow. Using it for my family blog!!
I’ve done everything and yet the text is horizontal instead of vertical. I went back about a million times to try and fix it but it wont change. Please help! http://fortheloveoffame.blogspot.com