Skip to content
Facebook
Instagram
Pinterest
TikTok
Twitter
DOWNLOAD HELP
Shopping Cart
0
No products in the cart.
HOME
Expand
ABOUT ME
FAQ
HELP PAGES
Expand
DOWNLOAD HELP
ACCOUNT AND PASSWORD HELP
CONTACT
FREE DESIGNS
Expand
SVG Cut Files on the Blog
Free Printables
Free Fonts
HOLIDAYS
Expand
4TH OF JULY
BACK TO SCHOOL
CHRISTMAS
EASTER
FATHER’S DAY
HALLOWEEN
MOTHER’S DAY
Patriotic Holidays
NEW YEARS
ST. PATRICK’S DAY
TEACHER APPRECIATION
THANKSGIVING
VALENTINE’S DAY
BABY SHOWER
WEDDING
PRINTABLE LIBRARY
SVG LIBRARY
Search
Facebook
X
Instagram
Shopping Cart
0
Search
Toggle Menu
Holiday and Seasonal Crafts
Printable Holiday Gift Bows
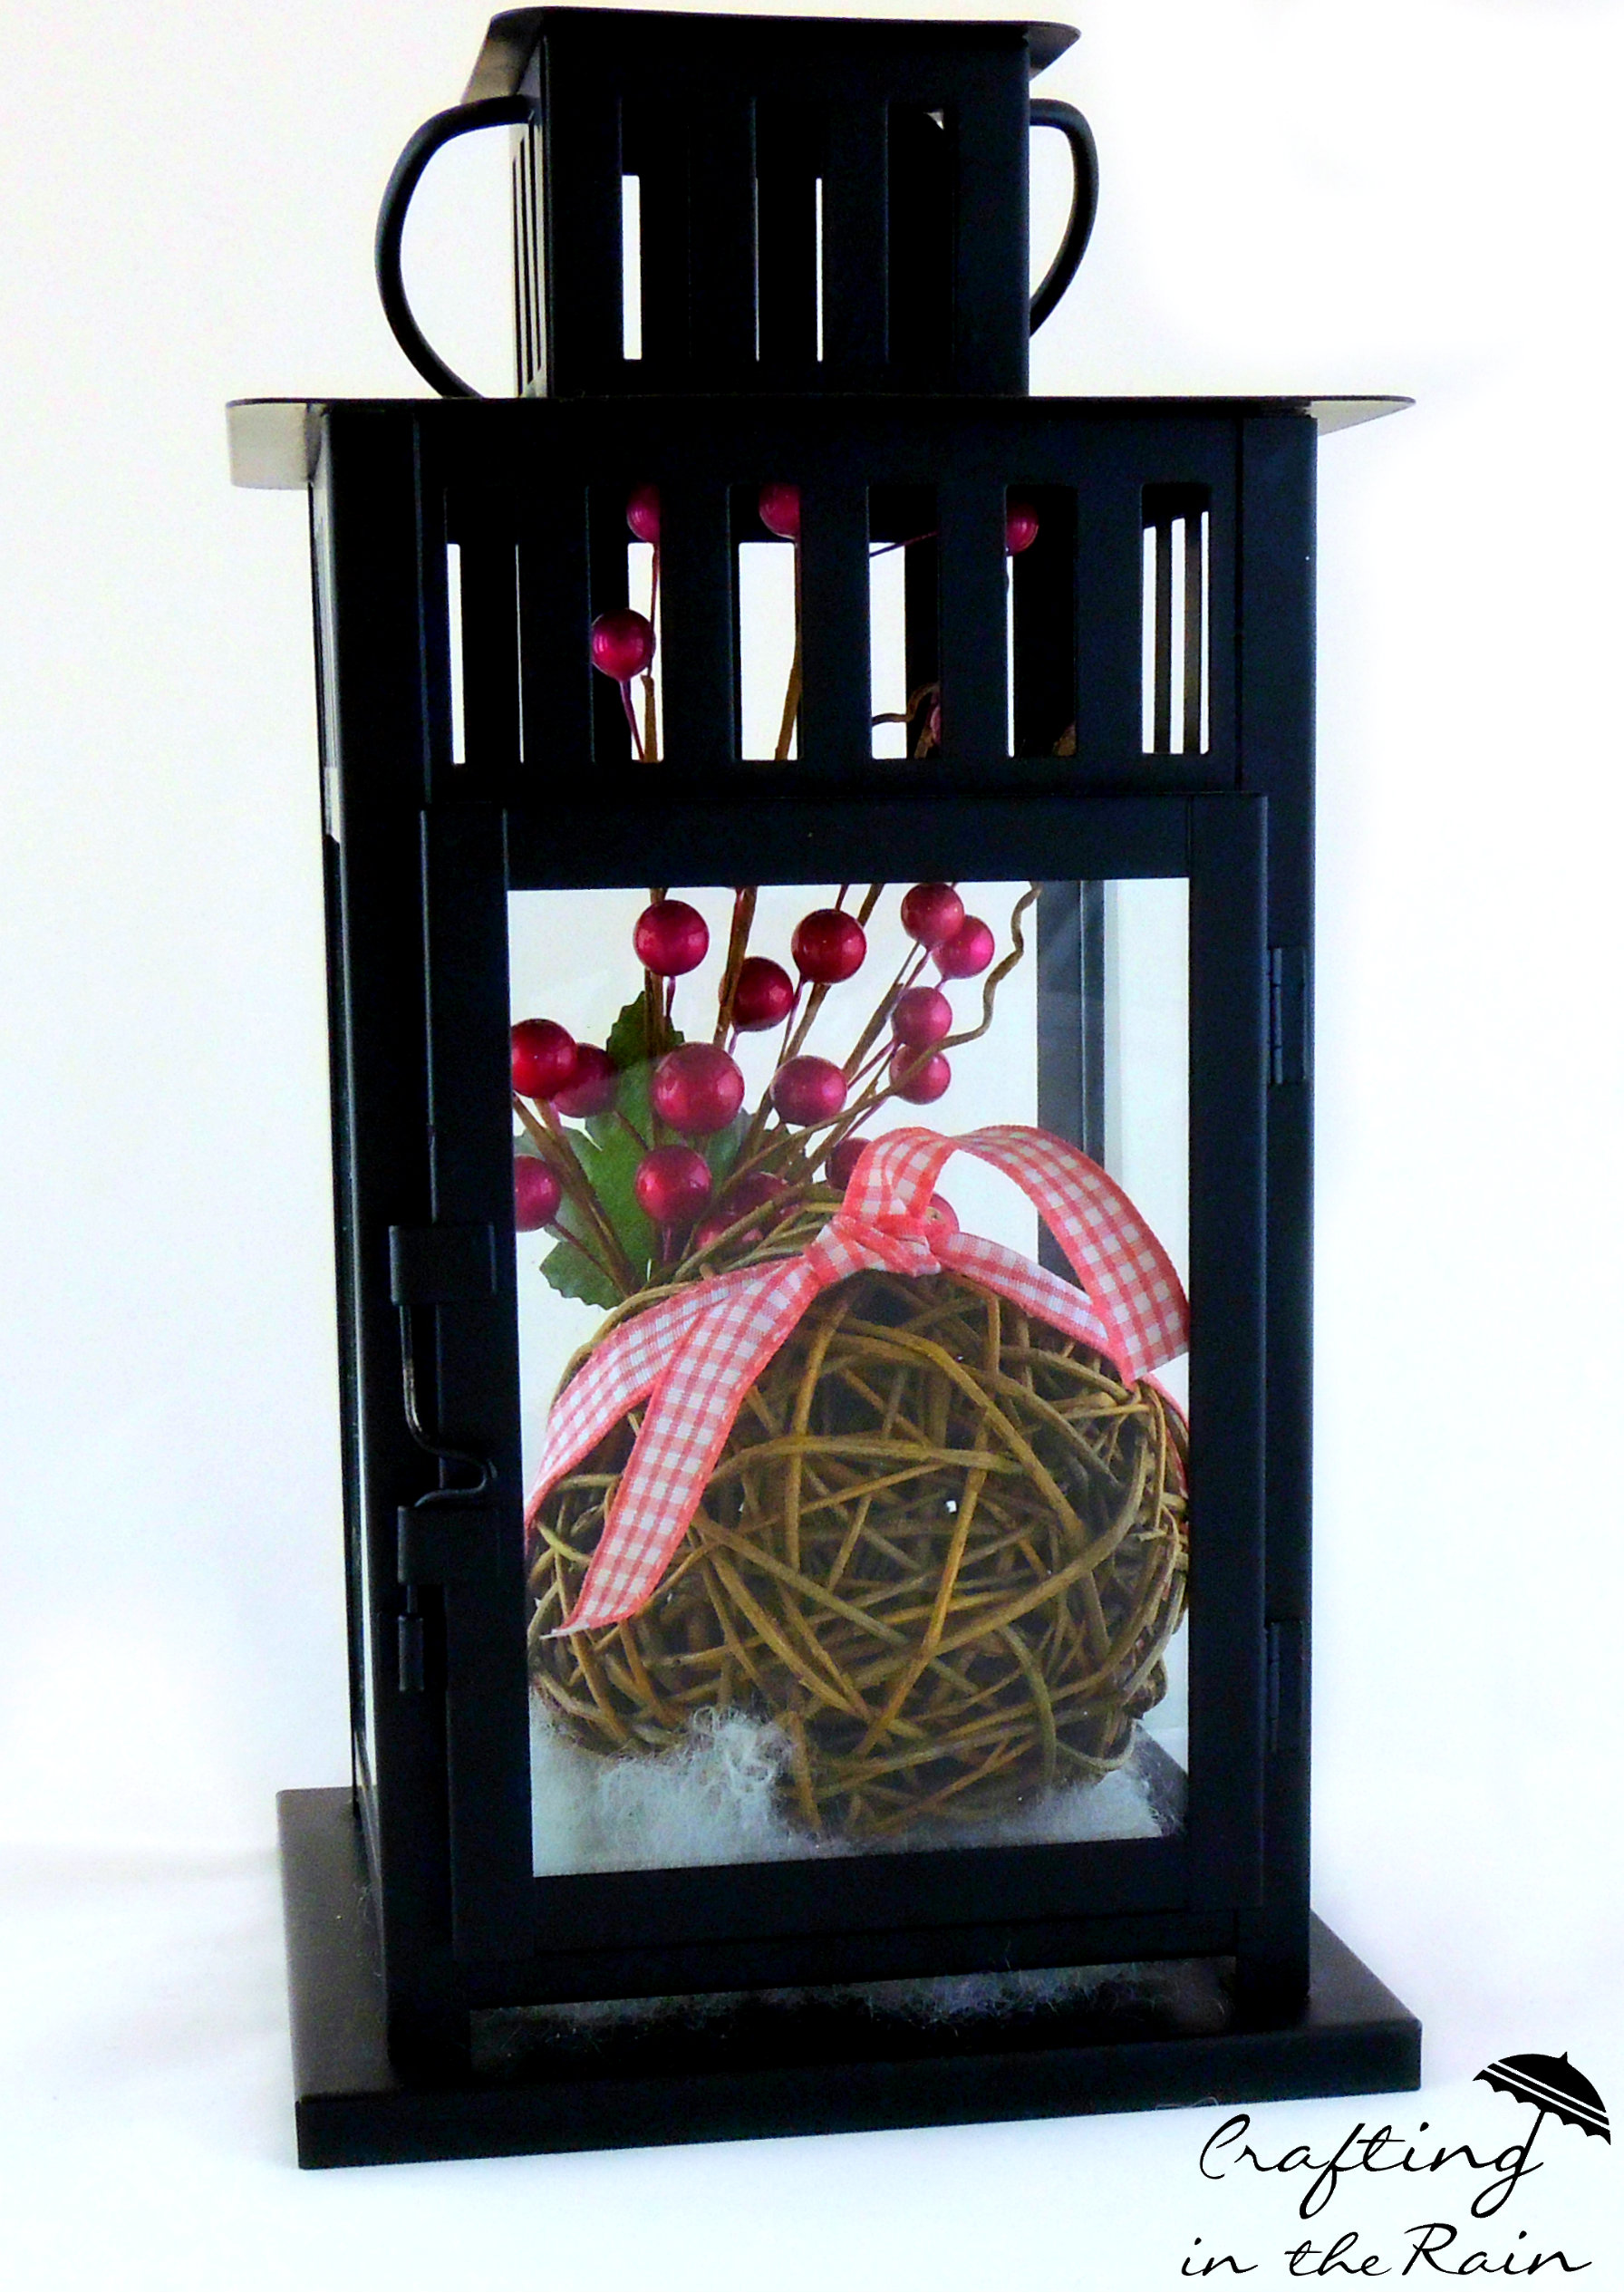
Decorating with Lanterns
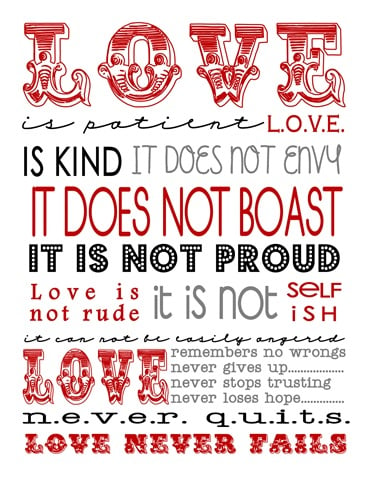
Valentine Heart Art
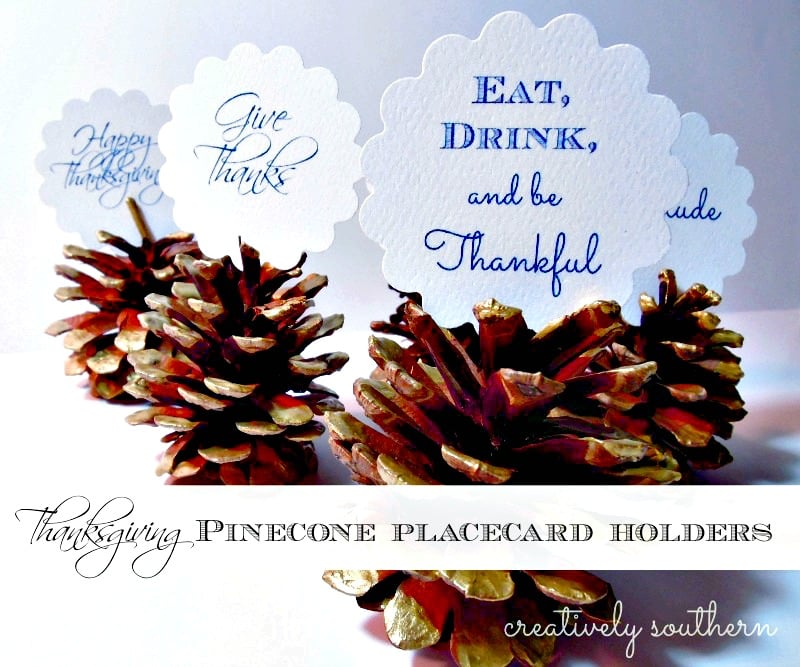
Thanksgiving Pinecone Placecard Holders {and a Free Printable}
Adorable Easter Tote for the Little Girl in your Life
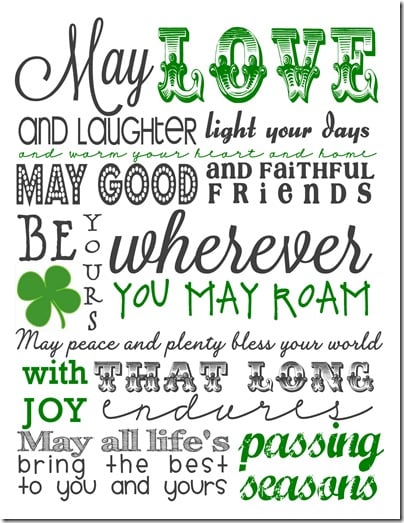
Printable St. Patrick’s Day Subway Art
Spring Forward Tutorial
Valentine Subway Art {Free Printable}
Silver Christmas Decor
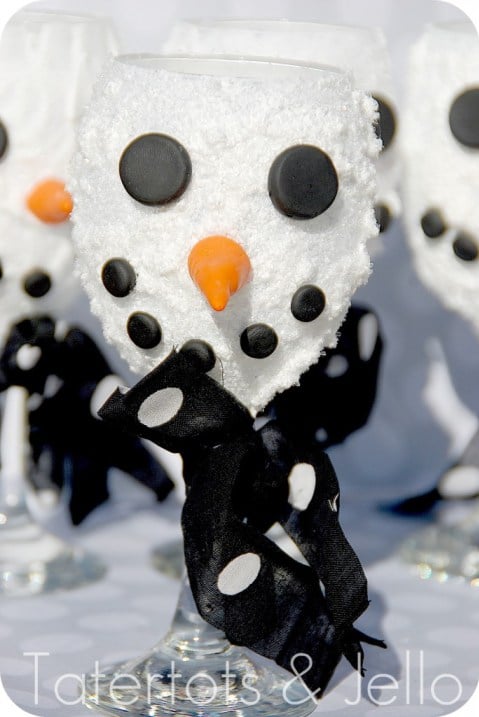
Snowman Votive
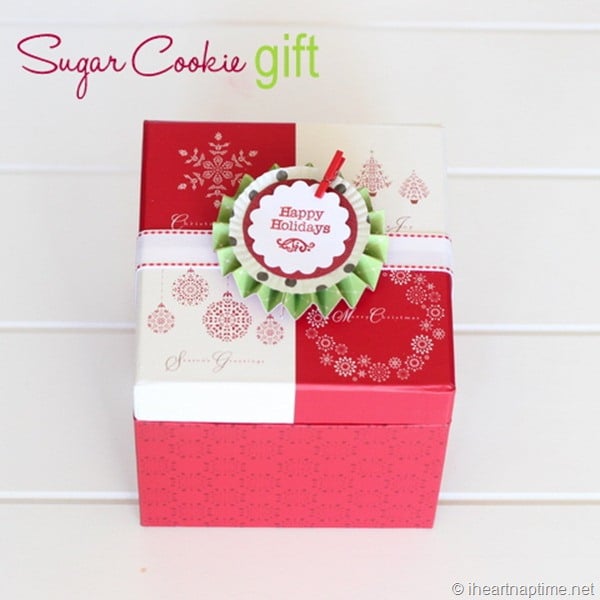
Sugar Cookie Gift Idea
DIY Advent Calendar
Page navigation
1
2
3
Next Page
Next
Review Cart
Toggle Menu Close
No products in the cart.
The Girl Creative
Scroll to top
Scroll to top
HOME
Toggle child menu
Expand
ABOUT ME
FAQ
HELP PAGES
Toggle child menu
Expand
DOWNLOAD HELP
ACCOUNT AND PASSWORD HELP
CONTACT
FREE DESIGNS
Toggle child menu
Expand
SVG Cut Files on the Blog
Free Printables
Free Fonts
HOLIDAYS
Toggle child menu
Expand
4TH OF JULY
BACK TO SCHOOL
CHRISTMAS
EASTER
FATHER’S DAY
HALLOWEEN
MOTHER’S DAY
Patriotic Holidays
NEW YEARS
ST. PATRICK’S DAY
TEACHER APPRECIATION
THANKSGIVING
VALENTINE’S DAY
BABY SHOWER
WEDDING
PRINTABLE LIBRARY
SVG LIBRARY
Toggle Menu Close
Search for:
Search